Grout lines can quickly turn from bright and clean to dark and stained, making your entire floor or wall look older than it really is. The solution doesn’t have to involve harsh chemicals or expensive products. With a Non-Toxic Grout Cleaner, you can safely restore your grout while protecting your home, your health, and your tiles. Whether you’re dealing with kitchen grease, bathroom mold, or everyday dirt buildup, using natural cleaning methods can deliver powerful results without the risks of chemical exposure. This complete guide walks you through everything you need to know — from understanding why grout gets dirty to mastering the best techniques for keeping it spotless all year long.
Why Grout Gets So Dirty (And Why Regular Cleaning Fails)
Grout is a porous material, which means it easily absorbs dirt, liquids, and oils. Unlike tiles that have a smooth, sealed surface, grout sits slightly lower and acts like a trap for grime. Over time, everyday activities cause dirt to build up deep inside the grout lines, making them look permanently stained even when the surrounding tiles are clean.
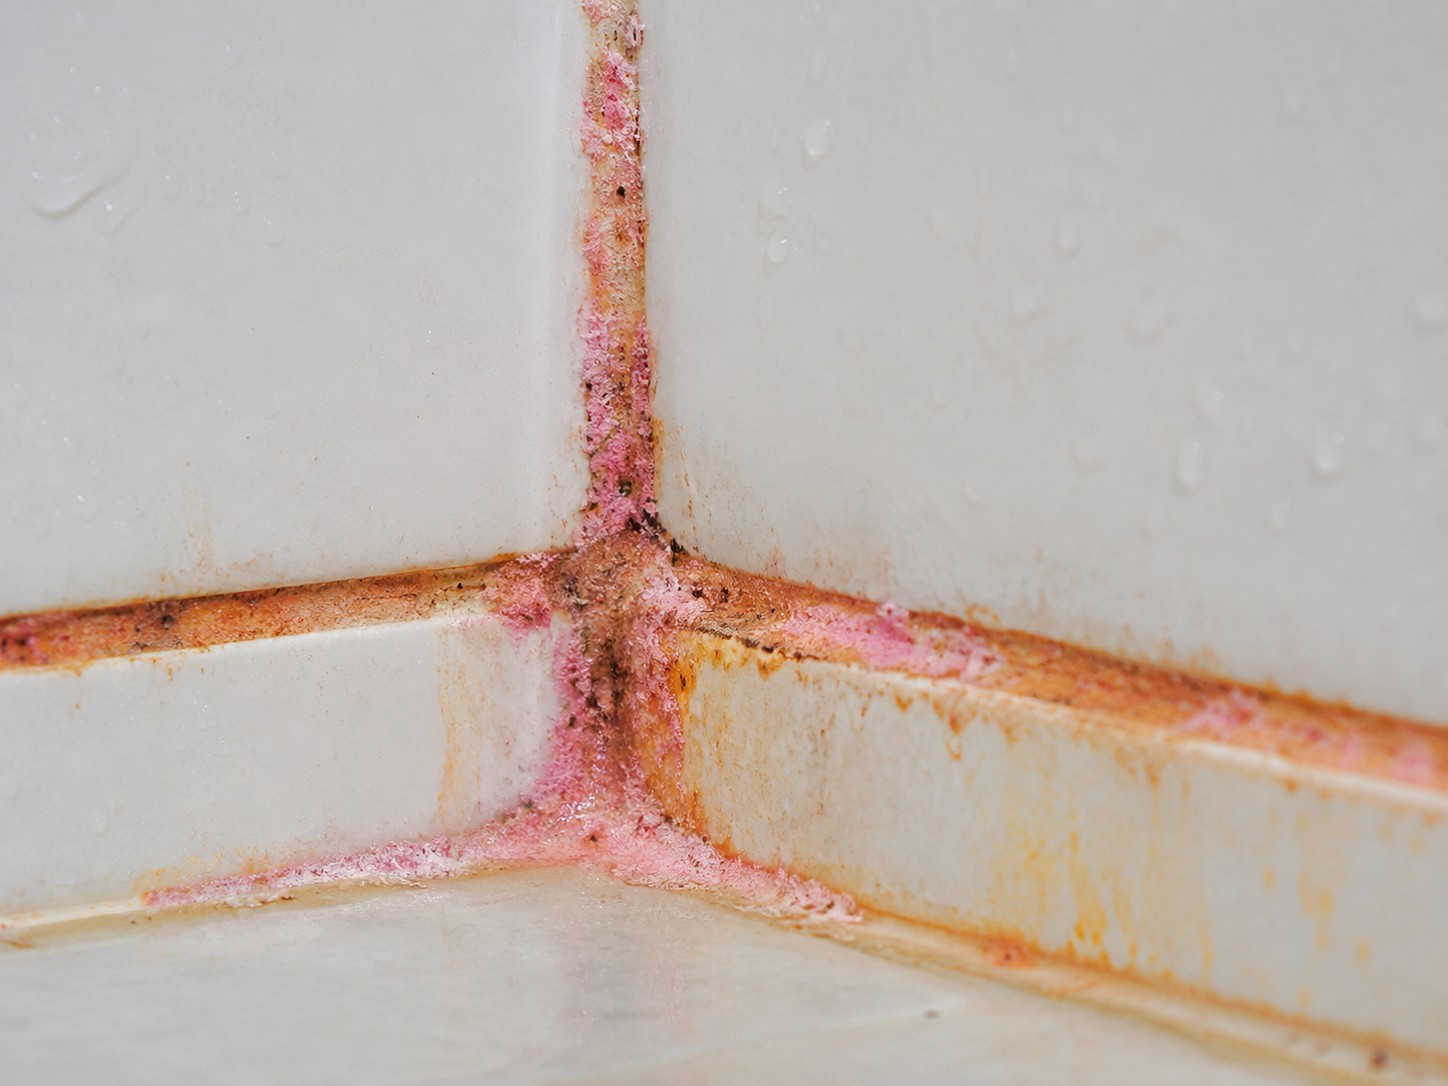
In kitchens, grease and food splashes settle into grout every time you cook. Steam from boiling pots and splatters from frying pans work their way into the tiny pores and harden over time. In bathrooms, soap residue and constant moisture create the perfect environment for mold and mildew growth, turning white grout gray or even black within months.
Standard cleaning methods like mopping only clean the surface and often push dirt deeper into the grout. This is why regular floor cleaning can actually make grout stains worse over time. Dirty mop water settles into the lines and dries, adding another layer of grime. That’s why grout requires a targeted cleaning approach using a Non-Toxic Grout Cleaner that can penetrate and break down stubborn buildup rather than simply moving it around.
Understanding this is the first step to solving the problem. Once you realize that surface cleaning isn’t enough, you can switch to a method that actually works.
Benefits of Using a Non-Toxic Grout Cleaner
Switching to a Non-Toxic Grout Cleaner is not just about being eco-friendly — it’s about cleaning smarter. Natural cleaning solutions are highly effective while being safe for everyday use, making them the ideal choice for most households.

One of the biggest benefits is improved indoor air quality. Many chemical-based cleaners release fumes that linger in enclosed spaces like bathrooms and kitchens. These fumes can irritate the eyes, throat, and lungs, especially in people with asthma or allergies. Natural alternatives don’t carry the same risk, making your cleaning routine safer for everyone in the home.
Non-toxic solutions are also gentler on grout and tile surfaces. Bleach and acid-based cleaners can strip color from grout and weaken its structure over repeated use. This leads to crumbling and cracking much sooner than expected, requiring costly repairs or full re-grouting. Natural cleaners work by loosening dirt rather than eroding the grout, helping preserve the structure and extend the life of your tiled surfaces.
For families with young children and pets, the case for non-toxic cleaning is even stronger. Children and animals spend a lot of time on the floor, putting them in close contact with any residue left behind by cleaning products. With natural solutions, you can clean confidently knowing there’s no harmful chemical exposure after the cleaning is done.
Additional benefits include:
- Cost savings, since most ingredients are already in your kitchen
- Reduced plastic waste from fewer product purchases
- No need for protective gloves or ventilation during cleaning
- Safe for use on colored and decorative grout
Best Ingredients for a Non-Toxic Grout Cleaner
One of the biggest advantages of non-toxic cleaning is that you can use simple household ingredients to achieve professional results. These natural elements work together to break down grime and lift stains from deep within the grout without causing any damage.
Baking Soda acts as a gentle abrasive that helps scrub away dirt without scratching the tile or grout surface. Its slightly alkaline nature also helps neutralize odors and break down grease, making it particularly effective in kitchens.
White Vinegar works as a natural disinfectant, cutting through grease and killing bacteria and mold on contact. Its acidic nature reacts with baking soda to create a fizzing action that helps lift embedded dirt from deep within grout pores.
Warm Water helps activate these ingredients and carry away loosened debris. Using warm rather than cold water speeds up the cleaning process and improves the effectiveness of both baking soda and vinegar.
Dish Soap can be added to the mixture when dealing with heavy grease buildup, especially in kitchen areas. A small amount added to the baking soda paste helps cut through oily residue that vinegar alone may not fully remove.
Hydrogen Peroxide is another powerful natural option for heavily stained or moldy grout. When mixed with baking soda to form a paste, it provides a deeper clean and can help brighten discolored grout without bleaching the surrounding tiles.
Lemon Juice offers a fresh-smelling alternative to vinegar. It has similar acidic properties that help dissolve mineral deposits and light stains, while also leaving a pleasant citrus scent behind.
When combined correctly, these ingredients create powerful yet safe cleaning solutions that can handle most grout stains in any room of the home.
How To Clean Grout Using a Non-Toxic Grout Cleaner
Cleaning grout effectively requires the right method as much as the right ingredients. Following a step-by-step approach ensures that you remove as much dirt as possible without damaging the surface.
Step 1: Prepare the Area Start by removing loose dirt and dust using a vacuum or dry broom. This prevents debris from spreading and turning into mud during the wet cleaning process. Pay extra attention to corners and edges where dust tends to accumulate.
Step 2: Make Your Cleaning Paste Mix baking soda with a small amount of water to create a thick paste. The consistency should be similar to toothpaste — thick enough to stay on the grout lines without running off. For tougher stains, substitute water with hydrogen peroxide for extra cleaning power.
Step 3: Apply the Paste Apply the paste directly onto the grout lines using an old toothbrush, your fingers, or a small spatula. Make sure the paste is pressed into the grout rather than just sitting on top of it. Work in small sections to keep the paste from drying out before you can scrub it.
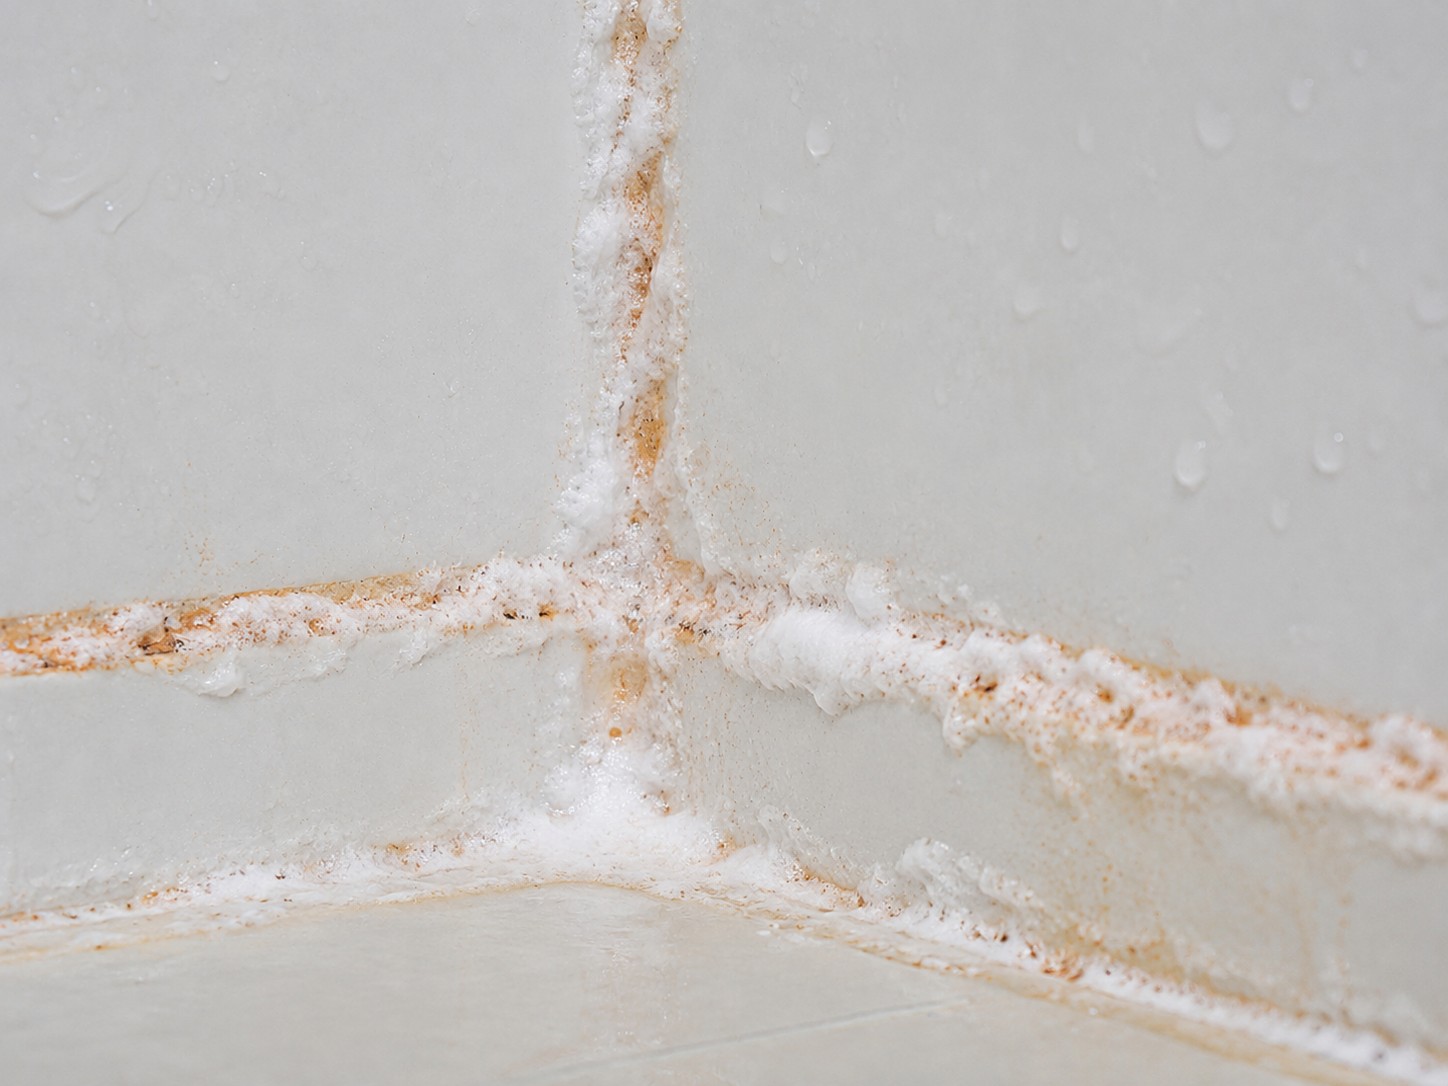
Step 4: Spray With Vinegar Once the paste is applied, spray white vinegar generously over it. You will immediately notice a fizzing reaction — this is the baking soda and vinegar working together to break down grime. Allow the mixture to sit for at least five to ten minutes. For heavily stained grout, leave it for up to 20 minutes to allow the solution to fully penetrate.
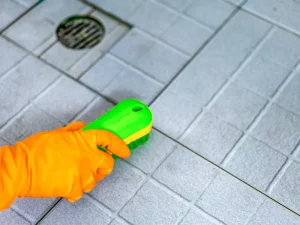
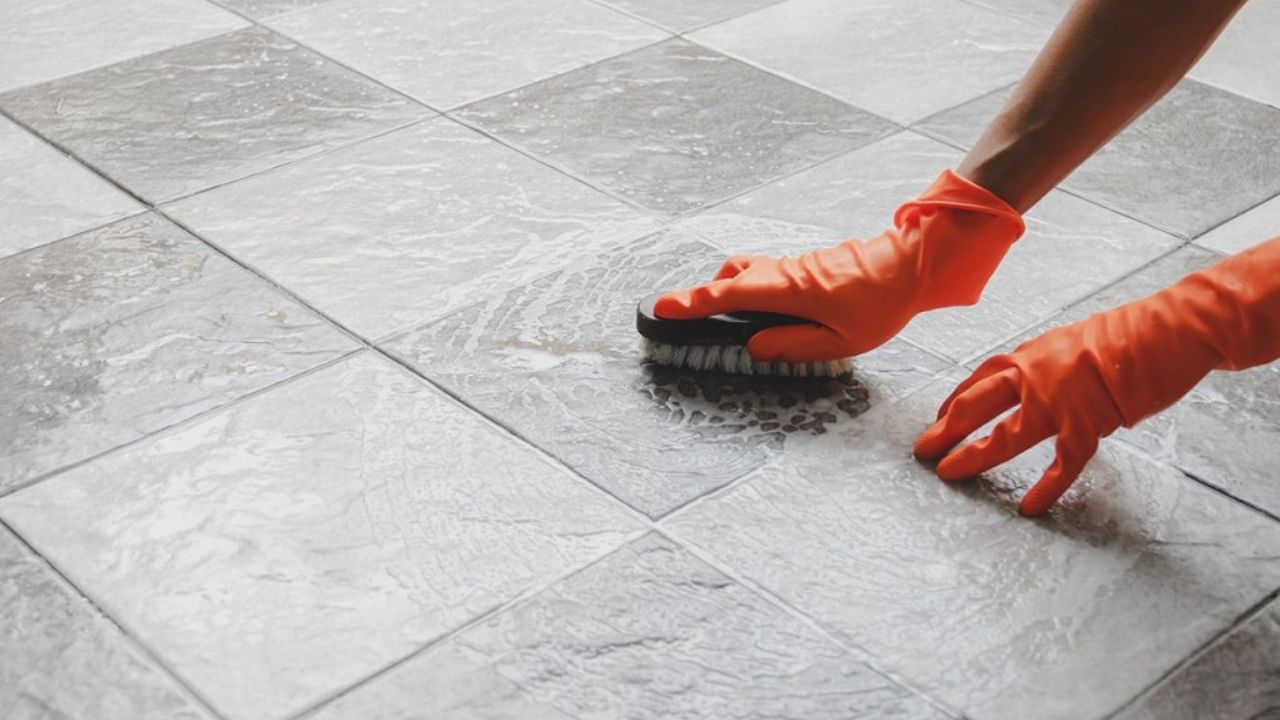
Step 5: Scrub the Grout Using a soft-bristle brush or old toothbrush, gently scrub the grout lines in a back-and-forth motion. Avoid using metal brushes or excessive force, as this can scratch the tile surface or damage the grout. The goal is to lift the loosened dirt, not to grind it out.
Step 6: Rinse and Wipe Once the stains are lifted, wipe the area clean with a damp cloth or rinse with warm water. Make sure to remove all residue, as leftover baking soda can leave a white film on darker tiles if not fully rinsed. Dry the area with a clean towel to prevent new moisture from settling in.
Deep Cleaning Stubborn Grout Stains Naturally
Some grout stains are more stubborn and require additional attention. Deep stains in high-traffic areas or grout that hasn’t been cleaned in months may need repeated applications of your Non-Toxic Grout Cleaner before results become visible.
Allowing the solution to sit longer is the most effective way to tackle tough stains. Instead of five minutes, try letting the baking soda and vinegar mixture sit for up to 30 minutes before scrubbing. For mold and mildew in bathroom grout, a hydrogen peroxide paste left overnight can work wonders.
For kitchen grout where grease is a major issue, adding a few drops of dish soap to your cleaning mixture improves grease-cutting ability significantly. Apply the mixture, let it soak in, and then scrub with a firm but gentle hand. Repeating this process two or three times in the same session can break through years of accumulated buildup.
Steam cleaning is another non-toxic option for deep cleaning grout. A handheld steam cleaner uses hot water vapor to loosen and sanitize grout without any chemicals at all. While it requires a small investment in equipment, it is extremely effective and completely safe for regular use.
The key to deep cleaning is patience. Gentle, repeated cleaning is far more effective than aggressive scrubbing, which can wear down grout over time and make it more vulnerable to future staining.
Common Mistakes to Avoid When Cleaning Grout
Even with the right cleaner, certain mistakes can reduce effectiveness or damage your grout. Many homeowners unknowingly use methods that do more harm than good.
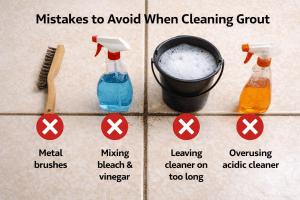
Using bleach too frequently is one of the most common errors. While bleach can brighten grout in the short term, repeated use weakens the grout structure and causes it to become brittle. It also poses health risks when used in poorly ventilated spaces.
Scrubbing too hard is another frequent mistake. Aggressive scrubbing might feel more effective, but it can erode the surface of the grout and even scratch surrounding tiles. Always use gentle, consistent pressure rather than force.
Skipping regular maintenance leads to heavy buildup that requires far more effort to remove. Allowing dirt to accumulate for months means you’ll need much longer and more intensive cleaning sessions. A few minutes of regular upkeep is always more efficient.
Not rinsing properly leaves cleaning residue behind. Dried baking soda or soap film can attract more dirt and make grout look dull. Always rinse thoroughly with clean warm water and dry the surface after cleaning.
Using the wrong tools can also cause problems. Steel wool, metal scrapers, and hard-bristle brushes can all scratch tiles and gouge grout. Stick to soft-bristle brushes, old toothbrushes, or grout-specific cleaning brushes.
How to Keep Grout Clean Longer
Once your grout is clean, maintaining it becomes much easier with consistent care. Preventing dirt buildup is always easier than removing it later.
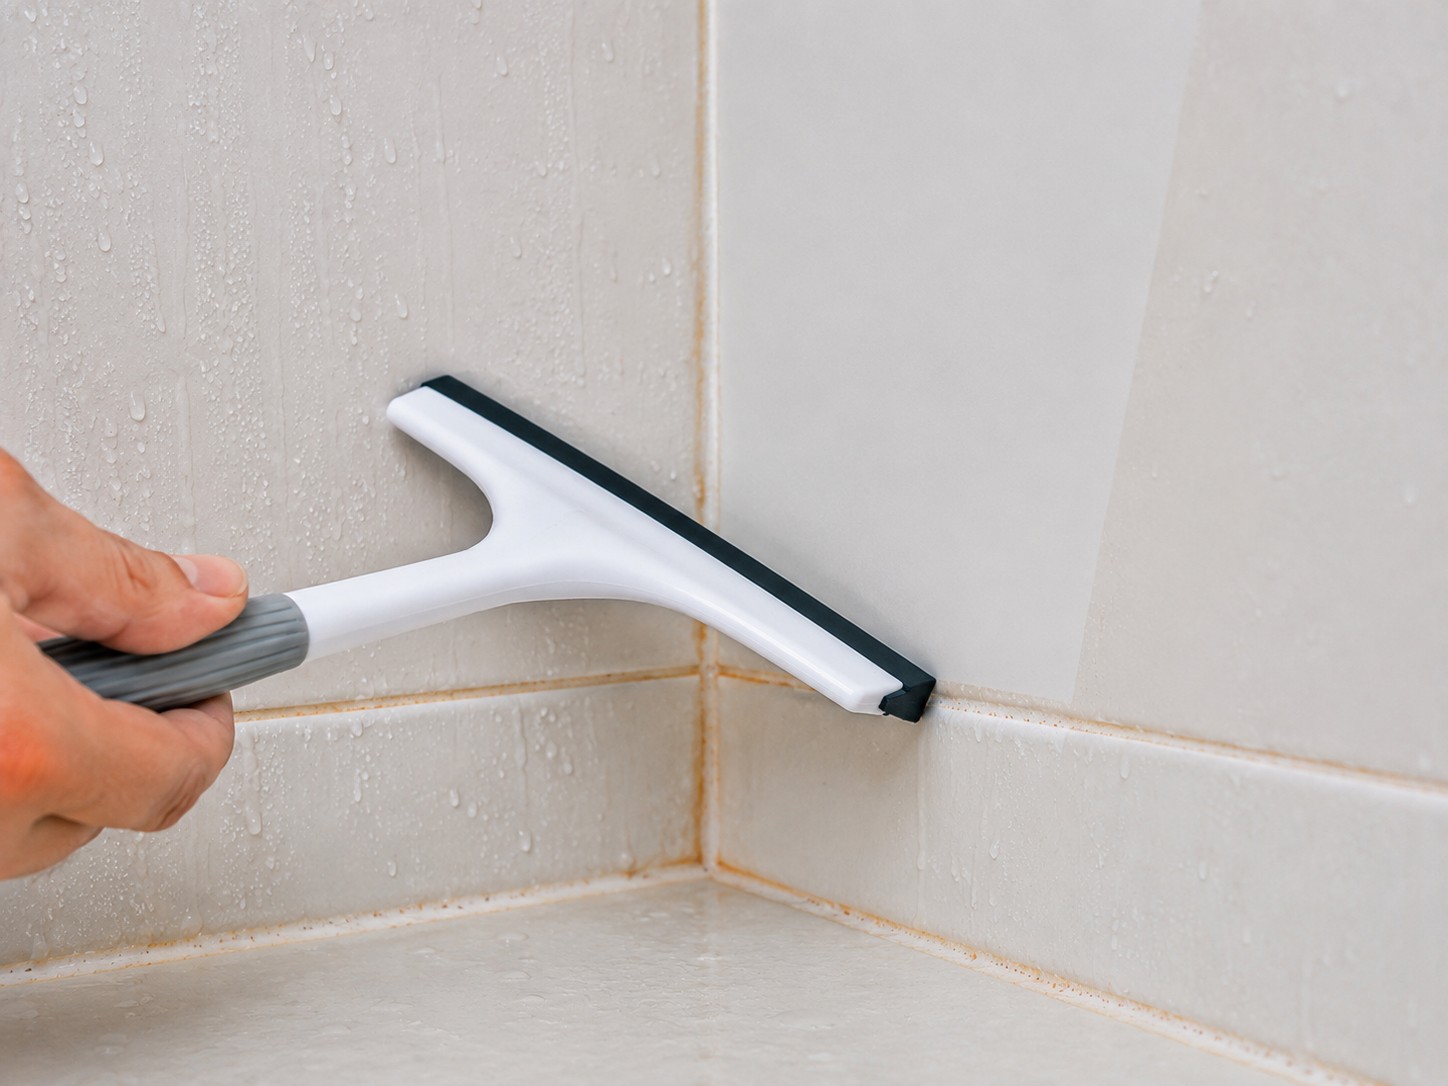
Wiping down tiles regularly and addressing spills immediately helps prevent stains from setting in. A quick wipe after cooking or showering takes only seconds but makes a significant difference over time. Using a Non-Toxic Grout Cleaner for a light clean once a week keeps grout lines fresh without requiring intensive deep cleaning sessions.
Applying a grout sealer every six to twelve months is one of the most effective long-term maintenance steps you can take. Sealers create a protective barrier over the porous grout surface, preventing moisture and dirt from penetrating. This makes future cleaning faster and easier.
Improving ventilation in bathrooms also helps by reducing the moisture that promotes mold growth. Running an exhaust fan during and after showers keeps humidity levels lower and slows the development of mildew in grout lines.
Best Areas to Use a Non-Toxic Grout Cleaner
A Non-Toxic Grout Cleaner is versatile enough to be used throughout your entire home without any concerns about damage or chemical exposure.
- Kitchen floors and backsplashes benefit from regular cleaning to remove grease, food residue, and cooking splatter
- Bathroom tiles and shower walls need attention to prevent mold and soap scum buildup
- Entryways and hallways collect outdoor dirt and mud that settles into grout lines quickly
- Laundry rooms and utility spaces often have moisture issues that make grout vulnerable to staining
- Outdoor tiled areas like patios can also benefit from natural cleaning solutions that won’t harm plants or soil
Because natural cleaners are safe and gentle, you can use them as frequently as needed in any of these areas without worrying about long-term damage.
When to Consider Replacing Grout Instead of Cleaning
While cleaning can restore most grout, there are situations where replacement is the better option. If your grout is cracked, crumbling, deeply stained beyond recovery, or separating from the tiles, re-grouting may be necessary.

Cleaning can dramatically improve appearance, but it cannot fix structural damage. Cracked grout allows water to get behind tiles, which can lead to serious damage over time including loosened tiles and moisture damage to walls and subfloors. Recognizing when to replace grout can save significant time and money in the long run.
If you’re unsure whether your grout needs cleaning or replacing, try one thorough cleaning session first. If the grout still looks discolored or crumbles during scrubbing, replacement is likely the smarter investment.
FAQ
1. How do I know if grout needs replacing instead of cleaning?
If your grout is cracked, crumbling, or missing in multiple areas, cleaning won’t fix the problem. These are clear signs that the grout structure is damaged and needs replacement rather than just surface cleaning.
2. Can deep cleaning fix heavily stained grout?
Deep cleaning can remove many stains, but if the discoloration is permanent or has penetrated deep into the grout, even the best cleaning methods may not restore its original color. In such cases, replacing grout is the better option.
3. Is moldy grout a sign that I should replace it?
If mold keeps coming back even after repeated cleaning, it may have penetrated deep into the grout. This usually means the grout is compromised and should be replaced to prevent further health risks.
4. How long does grout typically last before needing replacement?
Grout can last 8–15 years with proper maintenance. However, high-moisture areas like bathrooms may require earlier replacement if the grout becomes weak or damaged.
5. Is it cheaper to clean grout or replace it?
Cleaning grout is much cheaper and should always be tried first. However, if the grout is structurally damaged, replacing it is more cost-effective in the long run to avoid further tile or water damage.
Final Thoughts: A Smarter Way to Clean Grout
Cleaning grout doesn’t have to involve harsh chemicals or expensive products. By using a Non-Toxic Grout Cleaner, you can achieve powerful results while maintaining a safe and healthy home environment. Natural cleaning methods are not only effective but also sustainable, making them a better long-term choice for both your home and the planet.
The key to success lies in consistency and proper technique. Regular cleaning combined with preventive measures like sealing and immediate spill response ensures that your grout stays clean, bright, and durable over time. Instead of relying on aggressive solutions that damage grout in the long run, choosing a non-toxic approach allows you to protect your home while achieving results that rival any professional cleaning service.
With the right ingredients, the right method, and a little patience, you can transform dull, stained grout into clean, bright lines that genuinely enhance the overall look of your space. Start with what you already have in your kitchen, follow the steps in this guide, and you’ll be amazed at just how effective natural cleaning can be.





 Lemon juice contains natural citric acid, which helps break down grout similar to vinegar.




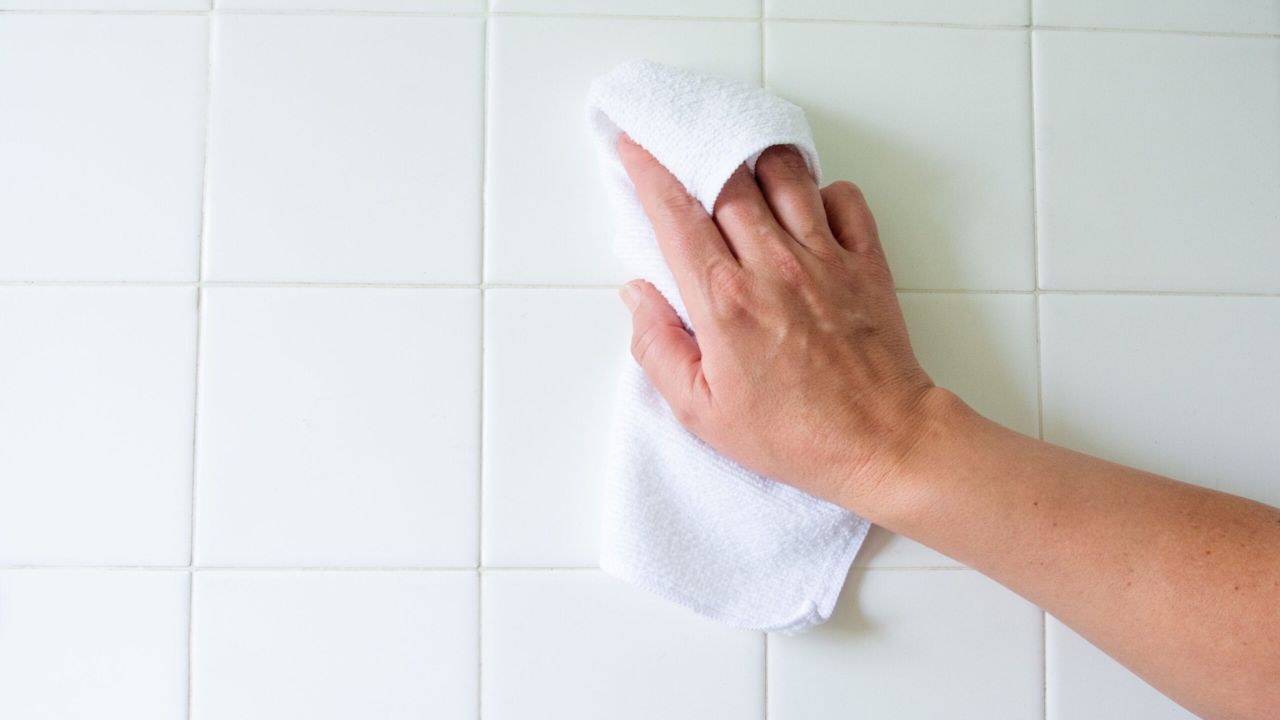
 dish soap, microfiber cloth, pH-neutral cleaner.