


By Jack Martin — Grout & Tile Cleaning Specialist, 10+ years testing grout cleaning methods, 130+ products personally tried.
Quick Answer: Orange stains in shower grout are usually caused by hard water minerals, pink mold (Serratia marcescens), or soap scum buildup — not permanent damage. Remove them with a baking soda and vinegar paste for light staining, or hydrogen peroxide and dish soap for mold-related orange stains. For deep, set-in discoloration, an oxygen bleach paste lifts stains that DIY mixes can't fully clear. Prevent recurrence by drying grout after every shower and resealing it once a year.
Orange stains in shower grout are one of the most common complaints I hear, and I get it — one day the grout looks fine, and a few weeks later there's a rust-colored ring creeping along every line. The good news is that in almost every case I've dealt with, these stains aren't permanent damage. They're a buildup problem, and buildup problems have solutions. This guide walks through exactly what's causing the orange discoloration, five methods I've tested that actually remove it, how to tell which cause you're dealing with before you start scrubbing, and how to stop the staining from coming back once your grout is clean again.
Why Does Shower Grout Turn Orange? The Surprising Culprits
Before jumping into removal methods, it's worth understanding what's actually causing the stain — because the cause determines which method will work fastest. Treating pink mold like a mineral deposit, or vice versa, is the single biggest reason people feel like they've "tried everything" without success.
1. Hard Water Minerals
If your water supply has high iron or magnesium content, those minerals leave behind rust-like deposits on tile and grout as water evaporates. Over weeks of daily showers, that thin mineral film builds into a visible orange tint.
2. Pink Mold (Serratia Marcescens)
Despite the name, this bacteria often reads as orange or salmon-colored on grout, and it thrives specifically in damp, low-light environments like shower corners and grout lines. It's one of the most common causes of orange staining I see, and it's also the one people misdiagnose most often as "just dirt." For a deeper look at removing mold from grout in general, see our full guide on removing mold from shower grout.
3. Soap Scum and Body Oils
Soap residue mixing with natural body oils creates a sticky film that traps dirt, dead skin, and bacteria. On its own it usually looks more gray or dingy, but combined with hard water minerals it can take on that same orange-rust appearance.
4. Poor Ventilation
A bathroom without a working exhaust fan or decent airflow stays humid far longer after each shower, which gives both mold and mineral deposits more time to settle into the grout before anything dries. In my experience, this is the most overlooked factor — people treat the stain repeatedly without ever addressing the humidity that keeps bringing it back, which turns a one-time cleaning job into a recurring monthly chore.
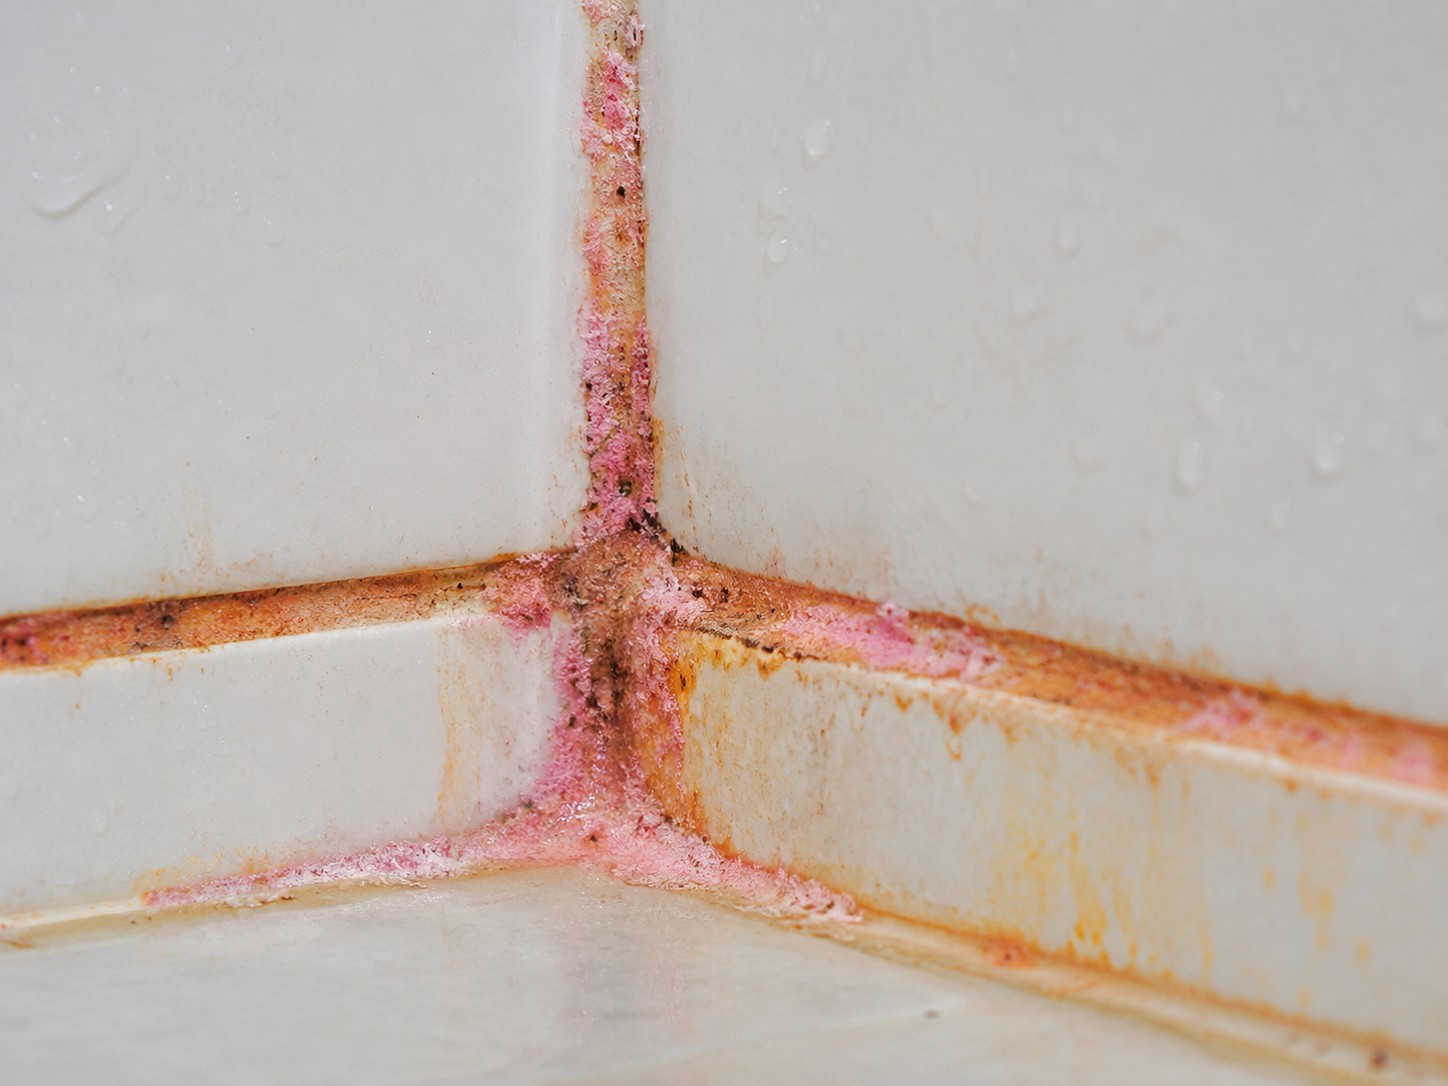
Pink mold often looks orange or salmon-colored on grout and tends to appear first in shower corners.
How to Tell Which Cause You're Dealing With
A quick two-minute check saves you from wasting effort on the wrong method. Wet a cloth and wipe firmly across a stained section of grout, then look closely at what comes off and how the stain behaves.
- If the stain smears into a slimy, pinkish residue on the cloth — that's almost always pink mold. It tends to appear first in corners, around the drain, and near the base of the shower where water pools longest.
- If the stain feels gritty or chalky and doesn't smear so much as flake — you're likely looking at hard water mineral deposits. These usually track a pattern that matches your showerhead's spray zone.
- If the discoloration is more of a dull, greasy gray-orange — soap scum and body oil buildup is the more likely culprit, often concentrated at shoulder height where soap gets applied and rinsed off.
Knowing which of these you're dealing with means you can skip straight to the method built for it, rather than working through all five in order.
5 Proven Ways to Remove Orange Stains from Shower Grout
Here's how the five methods I rely on compare, so you can pick the right starting point based on how bad the staining actually is and what's actually causing it.
| Method | Best For | Effort Level | Time Needed |
|---|---|---|---|
| Vinegar & Baking Soda | Mild staining, soap scum | Low | 15–20 min |
| Hydrogen Peroxide & Dish Soap | Pink mold, mildew | Low | 15–20 min |
| Oxygen Bleach Paste | Deep, set-in stains | Medium | 30+ min |
| Borax Scrub | Natural, non-toxic option | Medium | 20–25 min |
| Commercial Grout Cleaners | Stubborn, long-neglected stains | Medium-High | 15–30 min |
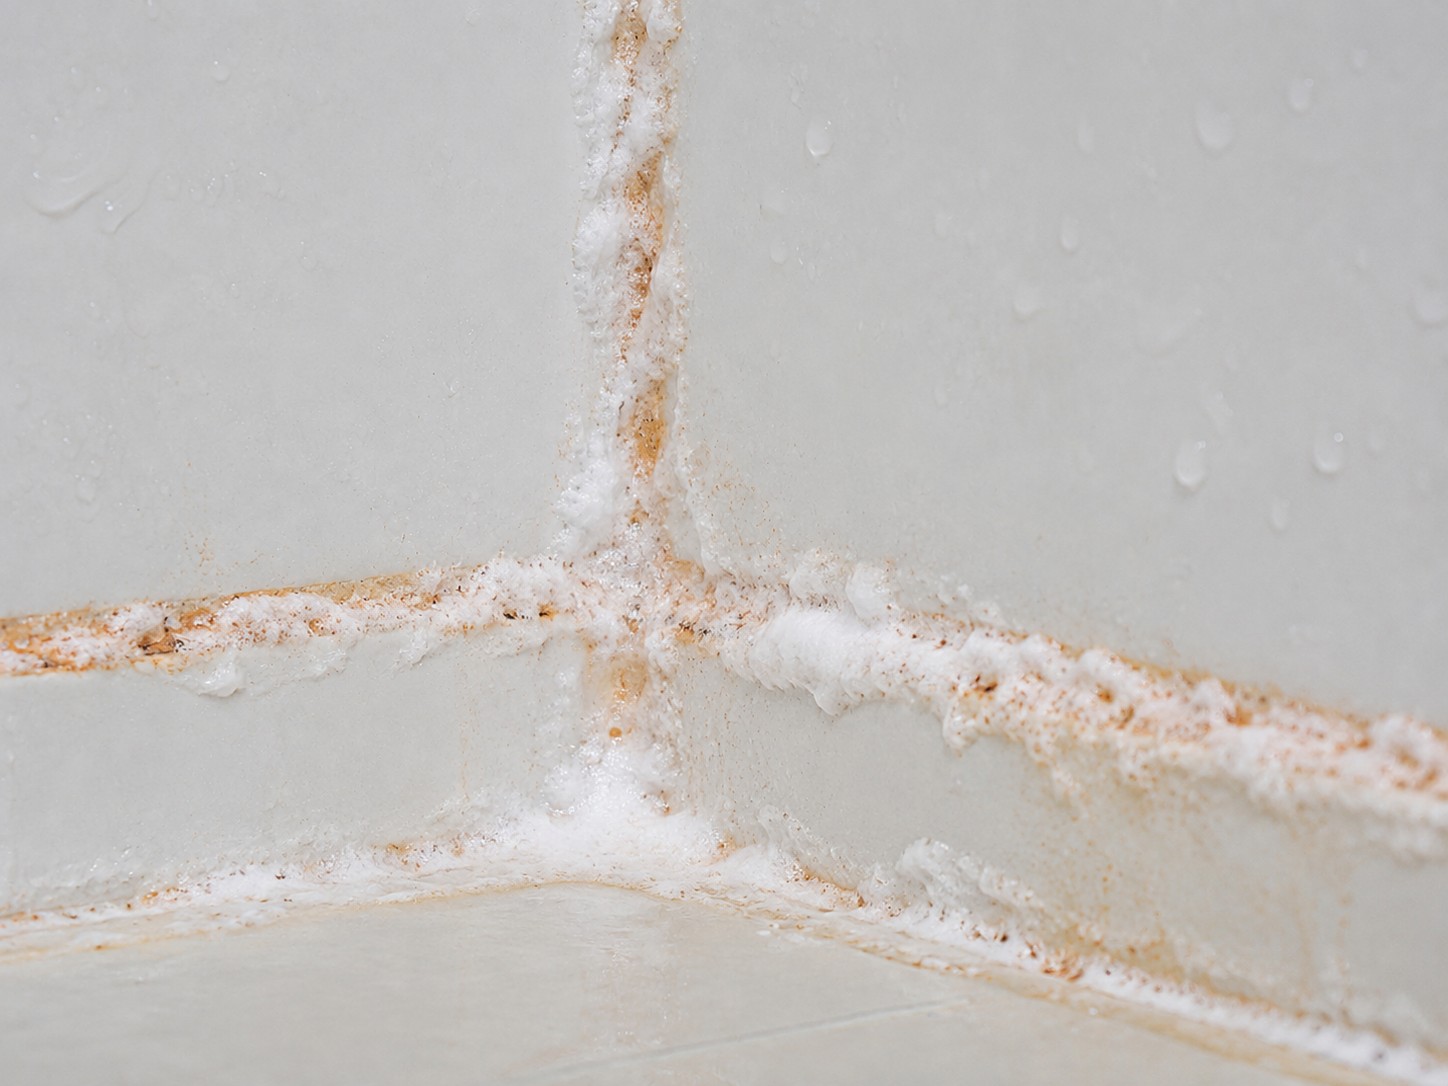
Method 1: Vinegar & Baking Soda (Best for Mild Stains)
This is the combination I reach for first, since it handles soap scum and light mineral buildup without any risk to the grout itself — though it's worth checking whether vinegar is safe for your specific tile and grout before using it regularly on natural stone.
- Sprinkle baking soda directly onto the grout lines.
- Spray white vinegar over the powder — it'll fizz as the two react.
- Let it sit for 10 minutes, then scrub with an old toothbrush.
- Rinse with warm water.
Pro tip: for stains that resist the first pass, adding a tablespoon of dish soap to the mix gives it noticeably more grease-cutting power. This is my go-to first attempt for any orange staining, mainly because it's cheap, gentle enough to use weekly, and handles a surprisingly large share of cases before you ever need something stronger.
Method 2: Hydrogen Peroxide & Dish Soap (For Mold and Mildew)
When the orange tint is coming from pink mold rather than mineral deposits, hydrogen peroxide is the better choice — it kills the bacteria at the source without bleaching or discoloring the grout the way stronger chemicals can. This is the method I'd reach for specifically if your diagnostic check above showed that slimy, pinkish smear rather than a gritty mineral texture.
- Mix ½ cup hydrogen peroxide with 1 tablespoon dish soap in a spray bottle.
- Spray onto the stained grout and let it sit for 15 minutes.
- Scrub gently and rinse.
Safety note: wear gloves and make sure the bathroom is well-ventilated while you work. Hydrogen peroxide is far gentler than bleach, but it's still worth taking basic precautions, especially if you're treating a large area at once.
Method 3: Oxygen Bleach Paste (Heavy-Duty Stain Removal)
For rust and mold stains that have really set in, oxygen bleach (sold under brands like OxiClean) lifts discoloration that the gentler methods above sometimes can't fully clear.
- Make a paste with oxygen bleach powder and warm water.
- Apply it to the grout with a toothbrush and let it sit for 30 minutes.
- Scrub and rinse thoroughly.
Bonus: this method also brightens dingy, yellowed grout as a side effect, so it's worth using even if orange isn't the only discoloration you're dealing with. It's also the method I recommend for grout that's gone untouched for six months or more, since the extended dwell time does a lot of the heavy lifting without requiring aggressive scrubbing.
Method 4: Borax Scrub (Natural Cleaner)
If you'd rather avoid bleach-based products entirely — whether for household safety reasons or simply personal preference — borax is a genuinely effective non-toxic alternative that also deodorizes as it cleans. It's a good middle-ground option between the very gentle vinegar method and the stronger oxygen bleach treatment.
- Mix 1 cup borax with 2 cups warm water into a paste.
- Spread it over the grout lines and let it sit for 20 minutes.
- Scrub and rinse.
Borax works particularly well on households with pets or small children where a fully natural cleaning approach is a priority, without sacrificing much in terms of actual cleaning power.
Method 5: Commercial Grout Cleaners (For Stubborn Stains)
When the DIY methods above don't fully clear the stain — which does happen with staining that's been building for a year or more — a few commercial products consistently perform well on orange and rust discoloration specifically:
- Zep Grout Cleaner — effective against tough mineral deposits
- CLR Bath & Kitchen Cleaner — dissolves rust and hard water stains
- Tilex Mold & Mildew Remover — kills bacteria on contact
Always follow the label instructions and test on a small, hidden section of grout first before treating the whole shower.
Tools You'll Need
None of these five methods require anything specialized, which is part of why they're worth trying before paying for a professional cleaning. A stiff-bristled toothbrush or a dedicated grout brush handles the actual scrubbing for all five methods. A spray bottle makes the vinegar and hydrogen peroxide solutions easier to apply evenly rather than pouring them directly, which tends to run off before it has time to work. Rubber gloves are worth having on hand regardless of which method you choose, since even the "gentle" options involve extended skin contact with cleaning agents. And a microfiber cloth or old towel for the final dry-down step matters more than people expect — leaving grout wet right after cleaning gives new mold and mineral deposits an immediate head start.
Mistakes That Make Orange Grout Stains Worse
- Mixing bleach with other cleaning products — combining bleach with ammonia-based cleaners or certain acidic products creates toxic fumes; stick to one method at a time and rinse thoroughly between attempts
- Skipping the dwell time — scrubbing immediately after applying a cleaner, rather than letting it sit for the recommended time, is the most common reason a method "doesn't work" when it actually just wasn't given a chance to break down the stain
- Using a metal or wire brush — this can scratch grout and create more texture for future staining to grip onto, which often makes the next round of buildup worse than the first
- Treating the stain but skipping the cause — if poor ventilation or standing water is the underlying issue, the orange tint will simply return within a few weeks no matter how thoroughly you clean it off
- Not testing commercial cleaners first — some products can lighten or discolor colored grout; always test a small, inconspicuous section before treating the whole shower
How to Prevent Orange Stains from Returning
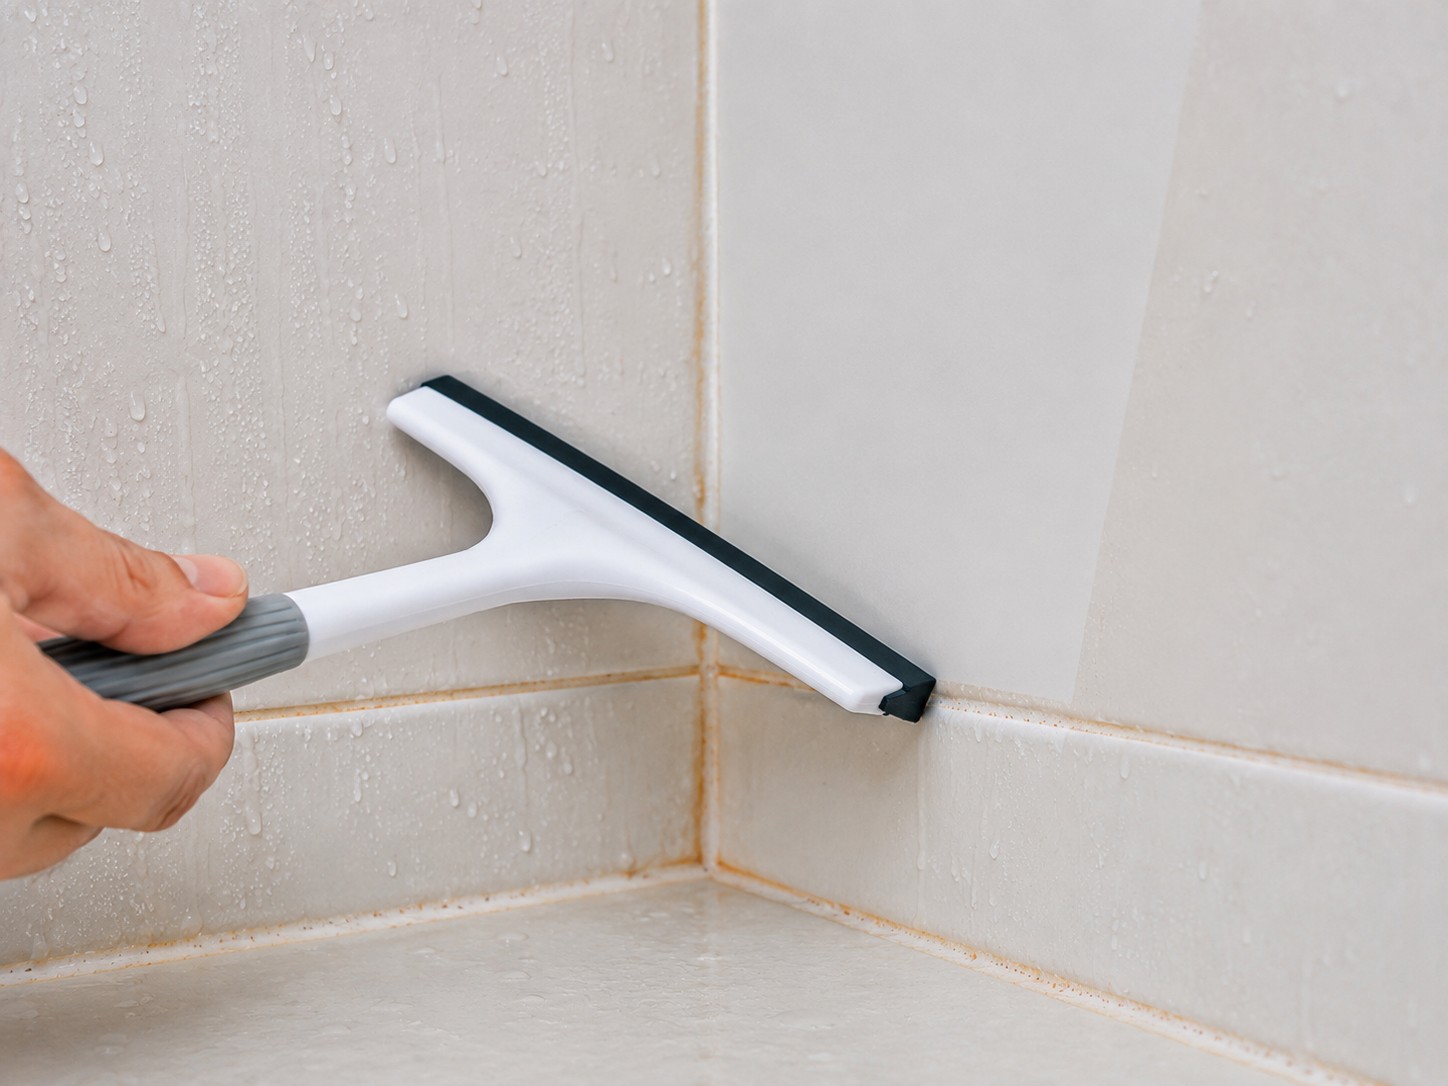
Removing the stain is only half the job — without a few habit changes, the same orange tint tends to creep back within a month or two.
1. Dry Your Shower Daily
A squeegee or microfiber towel run over the walls and grout after each shower removes most of the standing moisture that mold and mineral deposits need to take hold. This single habit, more than any product, is what separates showers that stay clean for months from ones that need re-treating every few weeks. It takes under a minute and makes a genuinely outsized difference.
2. Weekly Maintenance Spray
Mix equal parts water and white vinegar in a spray bottle, and mist the grout lines once a week. This keeps mold from getting a foothold between deeper cleans, without the effort of a full scrub-down every time. Let it air dry rather than rinsing immediately for the best preventive effect.
3. Seal Grout Annually
Applying a grout sealer once a year — something like Aqua Mix Sealer's Choice works well — creates a barrier that repels water and stains before they ever soak in. Unsealed grout is essentially a sponge for everything discussed in this guide, so this one step does more long-term prevention work than any cleaning routine on its own.
4. Improve Ventilation
Running the bathroom fan during and after showers, or cracking a window when weather allows, cuts down significantly on the humidity that both mold and mineral staining depend on. If your bathroom doesn't have a working exhaust fan, it's worth prioritizing that fix before anything else on this list — no amount of cleaning fully offsets a consistently humid bathroom.
Frequently Asked Questions
Why is my shower grout turning orange?
Orange staining is usually caused by pink mold, hard water mineral deposits, or rust in the water supply — sometimes a combination of all three.
Can I permanently remove orange stains in my shower?
Yes. Regular cleaning, annual sealing, and consistent moisture control after each shower prevent orange stains from coming back once they've been removed.
How do I get orange stains out of shower tile?
A baking soda and vinegar paste, or a borax scrub, both work well for lifting orange discoloration from tile and the grout between it.
How do you remove rust stains from grout specifically?
Lemon juice combined with baking soda works well for lighter rust staining, while a rust remover formulated for tile surfaces handles heavier, longer-set rust deposits.
Is pink mold in grout dangerous?
Serratia marcescens (pink mold) is generally more of a cosmetic and hygiene nuisance than a serious health hazard for most people, though it should still be cleaned promptly, especially in homes with respiratory sensitivities. For black mold specifically, which carries different risks, see our guide on whether black mold in grout is dangerous.
How long does it take to remove orange stains from grout?
Light staining usually clears in a single 15 to 20 minute session with baking soda and vinegar or hydrogen peroxide. Deeper, long-set stains treated with an oxygen bleach paste may need a 30-minute dwell time and, occasionally, a second application a day or two later for the most stubborn spots.
Final Thoughts
Orange stains in shower grout look alarming, but in almost every case they come down to hard water minerals, pink mold, or soap scum — all of which respond well to the methods above. Running the quick diagnostic check first saves time, since mold and mineral deposits respond best to different approaches even though they can look similar at a glance. Start with the gentler baking soda and vinegar or hydrogen peroxide combinations, and move up to oxygen bleach or a commercial cleaner if the staining has had time to set in. Once the grout is clean, pairing daily drying, a weekly vinegar mist, and an annual seal is what actually keeps that orange tint from working its way back for good. For a full bathroom maintenance routine beyond just stain removal, see our complete bathroom grout cleaner guide.