

Published: March 11, 2025

By Jack Martin — Grout & Tile Cleaning Specialist, 10+ years testing grout cleaning methods, 500+ products personally tried.
To remove dried grout from textured tiles, soften it first — apply vinegar, lemon juice, or a sugar-water solution directly onto the dried grout and let it sit for 10–20 minutes. Then scrape it away with a grout saw or plastic-handled scraper, working in small sections, and wipe off any leftover haze with a 1:1 vinegar-water solution.
When it comes to removing dried grout from textured tiles, we understand the challenge that homeowners and professionals face every day. In our extensive experience, achieving a flawless tile surface is not just about aesthetics—it’s about ensuring longevity and proper maintenance of your tiles. In this guide, we outline a step-by-step approach that makes removing dried grout from textured tiles both effective and safe. We will also cover how to get dried grout off tile without compromising the integrity of your tile surface.
Understanding the Challenge of Dried Grout on Textured Tiles
Textured tiles add a unique visual appeal to any space, but they can also trap dried grout in their contours. Dried grout that has not been properly removed can lead to a discolored, uneven appearance and may even compromise the longevity of your tiles. It is essential to address this issue promptly and with the correct techniques. The inherent grooves and ridges of textured tiles make cleaning more complex than standard flat surfaces. Our approach is designed to simplify this process while ensuring no damage is done to your tiles.
Why Dried Grout Needs Special Attention
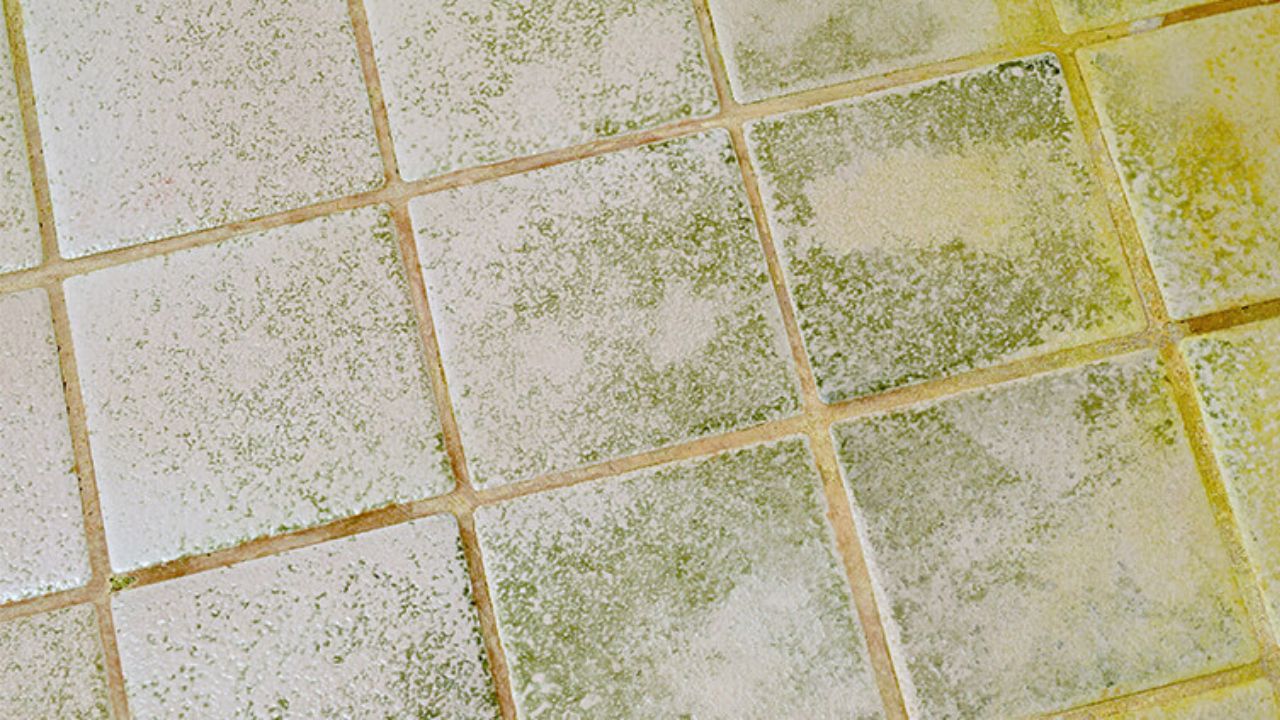
When grout dries on textured surfaces, it becomes incredibly stubborn. Dried grout can settle into the crevices and rough surfaces, making it resistant to ordinary cleaning agents. We have discovered that the key to effective removal lies in softening the grout first, thereby reducing the risk of scratching or damaging the tile surface. It’s important to note that our techniques are tested and proven by professionals who work on a daily basis with various tile finishes.
Preparation: Choosing the Right Solution
Before you start the process of removing dried grout from textured tiles, it is crucial to choose the correct solution. Our experience shows that natural solutions are both effective and safe for most tile surfaces. Here are some of our preferred methods:
- Sugar Water: A 50/50 mixture of water and sugar can gently soften the grout without harsh chemicals. The sugar works as a mild abrasive and helps in breaking down the grout’s bonds.
- Vinegar: Applying straight vinegar or a 1:1 vinegar-to-water solution is another highly effective method. The acidic nature of vinegar helps to dissolve the dried grout, making it easier to remove.
- Lemon Juice: Fresh lemon juice, applied directly, offers a natural way to cut through the grout. Its acidity works similarly to vinegar, but with a pleasant natural scent.
By choosing one of these natural solutions, we ensure that our method remains both effective and environmentally friendly. The next step is to prepare the tile surface by ensuring it is clean and free from loose debris.
Step-by-Step Process to Remove Dried Grout
1. Soaking the Grout
Preparing the Solution:
Begin by mixing your chosen solution—be it sugar water, vinegar, or lemon juice—in a spray bottle or bowl. For example, if using vinegar, mix it with an equal amount of water to create a balanced solution that is strong enough to soften the grout but gentle on your tiles.
Application:
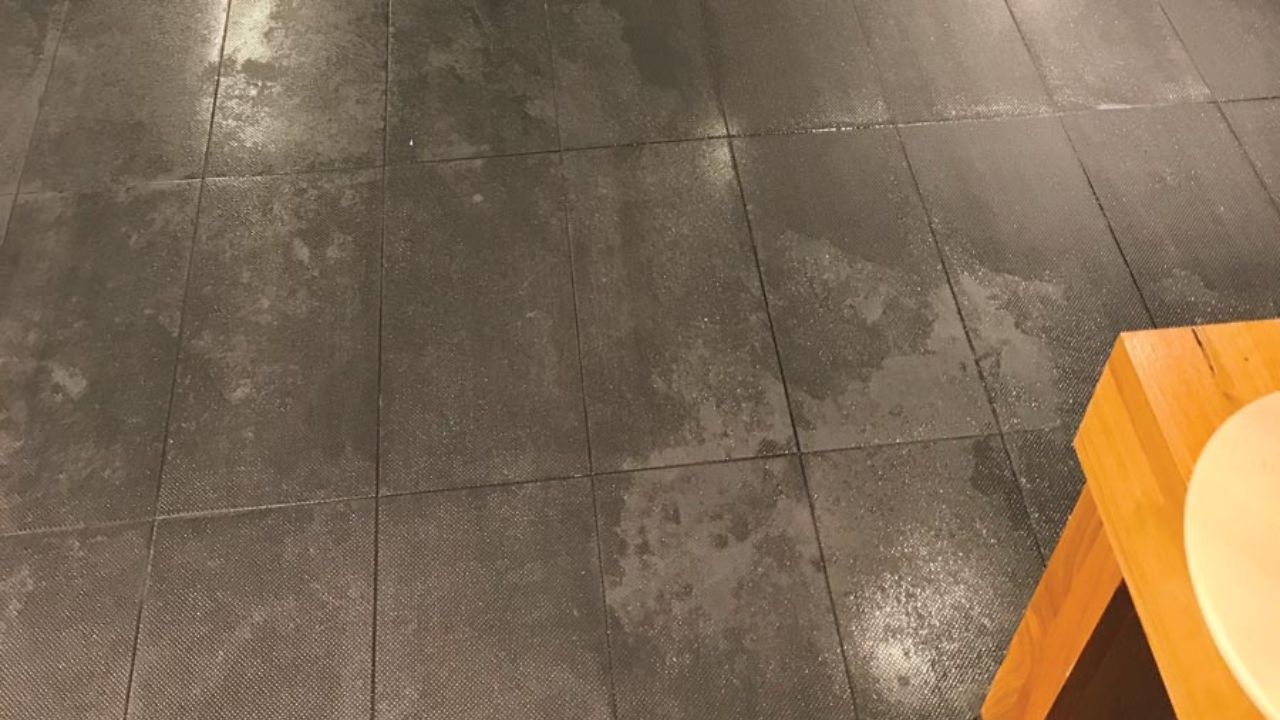
Generously apply the solution directly onto the dried grout. It is important that the solution seeps into the grout lines. We recommend letting the solution sit for 10-20 minutes to allow it to penetrate deeply. This step is crucial for removing dried grout from textured tiles as it softens the dried materials, making the next steps more efficient.
2. Removing the Softened Grout
After the soaking period, the grout will begin to loosen, allowing you to remove it with the proper tools.
Tools to Consider:
- Grout Saw: This is an essential tool for removing dried grout from textured tiles. Its precision allows you to carefully scrape away grout without damaging the tile.
- Grout Scraper: A scraper with a plastic handle provides control and minimizes the risk of scratching your tile surface.
- Razor Blade Scraper: For more stubborn spots, a 6-8 inch razor blade scraper can be used cautiously.
- Oscillating Multi-tool: With the appropriate grout removal attachment, this tool can make the process faster and more efficient when used correctly.
Method:
- Work in small sections to ensure control and precision.
- Use the scraper or saw to gently remove the grout. The key here is to apply steady, gentle pressure. Avoid using excessive force as it may lead to tile damage.
- If needed, reapply the solution and let it sit for an additional 10 minutes on particularly stubborn areas.
- Continuously wipe the area with a damp cloth or sponge to remove any loosened grout and monitor your progress.
3. Addressing Grout Haze
Even after the grout is removed, a residual grout haze may remain on the tile surface. This haze not only affects the appearance of your tiles but may also lead to further cleaning challenges.
Removing Grout Haze:
- Mix a solution of vinegar and water (1:1 ratio) and apply it over the affected area.
- Allow it to sit briefly before wiping it off with a clean, dry cloth.
- For stubborn haze, repeat the process until the tile surface is completely free of any residue.
Safety and Best Practices
While our methods are straightforward, we emphasize the importance of safety precautions during the process:
- Wear Protective Gear: Always use gloves and protective eyewear when handling acidic solutions like vinegar or lemon juice.
- Test in a Small Area: Before applying any solution to the entire surface, test it on a small, inconspicuous area of the tile to ensure there is no adverse reaction.
- Proper Ventilation: Make sure the area is well-ventilated, especially if you are using vinegar, to avoid inhaling strong fumes.
- Tool Maintenance: Regularly inspect and maintain your tools to ensure they remain effective and do not cause unnecessary damage.
Personal Experience: Our Journey with Textured Tile Restoration
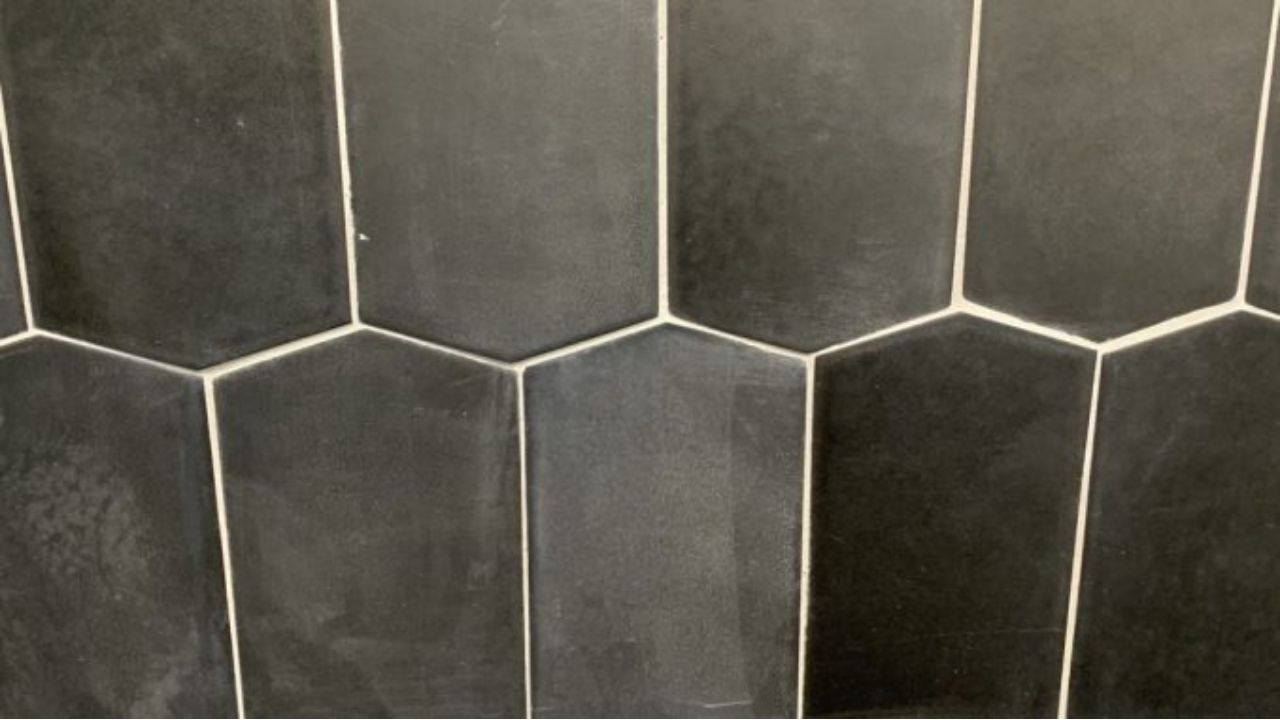
In our experience, removing dried grout from textured tiles is a process that requires patience and attention to detail. We recall a project where a client had newly installed textured tiles marred by excess grout. Initially, the dried grout had settled into every crevice, detracting from the overall look of the space. Using our recommended methods, we applied a vinegar solution, allowed it to penetrate, and then carefully removed the softened grout with a grout saw and scraper. The transformation was remarkable—the tiles regained their original beauty, and the client was thrilled with the result.
What we learned from this project is that how to get dried grout off tile successfully hinges on taking the time to properly prepare and work with the materials. Our step-by-step approach not only restored the visual appeal of the tiles but also extended their lifespan by preventing the buildup of harsh residues that can degrade tile surfaces over time.
Additional Tips for a Flawless Finish
- Consistent Maintenance: Regular cleaning and maintenance can prevent grout from drying and hardening excessively.
- Use Quality Tools: Investing in high-quality tools can make the removal process smoother and reduce the risk of accidental damage.
- Seek Professional Advice: For larger or more complicated projects, don’t hesitate to consult with a tile restoration specialist who can provide tailored recommendations.
- Follow Up with Sealant: Once the grout is removed and the tiles are cleaned, consider applying a sealant to protect both the grout and the tile surface from future issues.
Advanced Techniques for Stubborn Grout
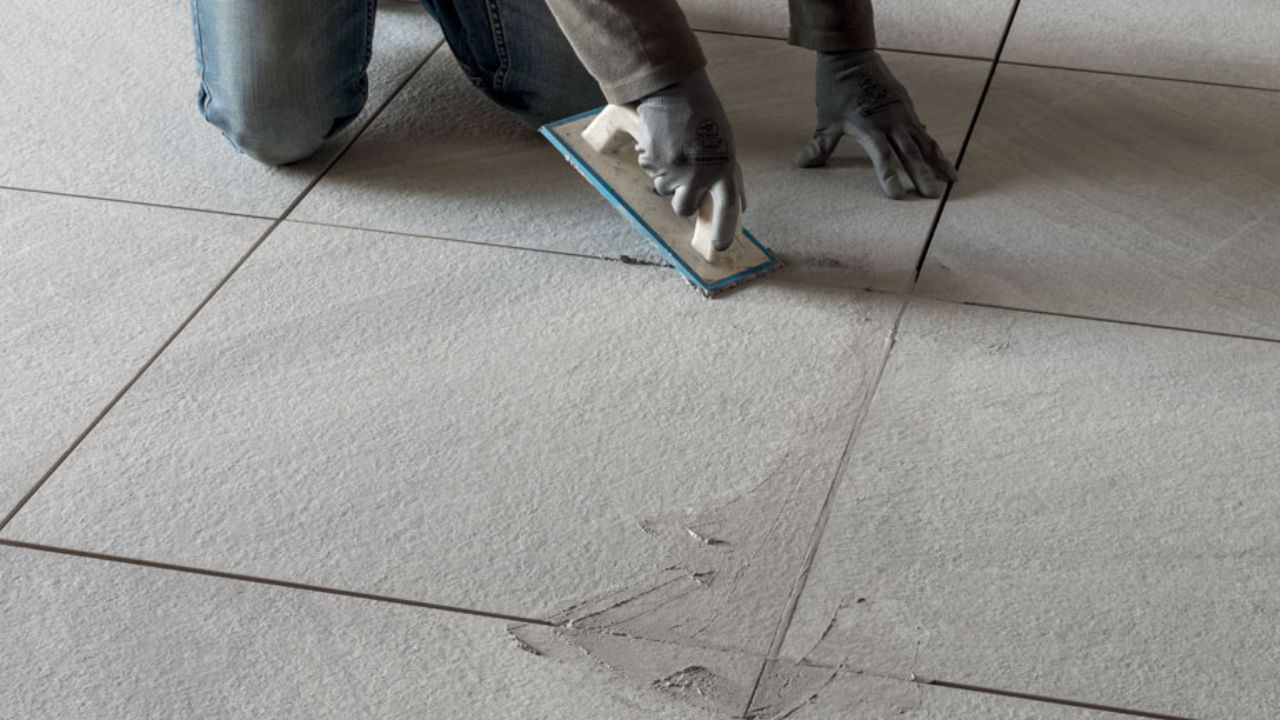
For particularly challenging situations where conventional methods fall short, we have found that combining manual tools with modern power tools can yield excellent results. An oscillating multi-tool with a grout removal attachment allows for more precision and speed. However, it is important to use such tools with caution and only if you have experience or proper guidance, as they can be more aggressive than manual methods.
The Impact of Proper Grout Removal on Home Aesthetics
By focusing on removing dried grout from textured tiles correctly, homeowners not only improve the appearance of their living spaces but also add value to their properties. Clean, well-maintained tiles create a sense of order and professionalism that is noticeable at first glance. We have witnessed numerous transformations where spaces became significantly brighter and more inviting after a thorough grout removal process. Whether it is a kitchen backsplash, a bathroom wall, or a decorative tiled floor, the meticulous removal of dried grout ensures that every tile can shine in its best condition.
Frequently Asked Questions (FAQs)
1. What is the best solution for removing dried grout from textured tiles?
We have found that natural solutions such as sugar water, vinegar, or lemon juice work exceptionally well. These solutions soften the dried grout without causing damage to the tile surface, making it easier to remove.
2. How long should the solution be left on the grout?
Typically, we recommend allowing the solution to sit on the dried grout for about 10-20 minutes. This gives the solution enough time to penetrate and soften the grout effectively.
3. What tools are most effective for this task?
For removing dried grout from textured tiles, the tools that we prefer include a grout saw, a grout scraper with a plastic handle, and, for stubborn areas, a razor blade scraper. An oscillating multi-tool with a grout removal attachment can also be effective for faster results.
4. How do I get dried grout off tile without damaging the surface?
The key is to soften the grout first using a natural solution and then use gentle, controlled scraping techniques. Always work in small sections and avoid applying too much pressure, which minimizes the risk of scratching the tiles.
5. How can I remove any remaining grout haze after cleaning?
If a haze persists, we recommend using a vinegar and water solution (in a 1:1 ratio) and wiping the tiles with a clean, dry cloth. Repeating the process as necessary will remove any remaining residue and restore the tile’s natural shine.
Conclusion
In conclusion, our detailed guide on removing dried grout from textured tiles provides a reliable, step-by-step approach that balances effectiveness with safety. From choosing the right natural solution to the careful use of tools, our techniques ensure that your tiles remain pristine and damage-free. We believe that by following these methods, you will not only achieve a superior finish but also extend the lifespan of your tiles. Our personal experience underscores the importance of precision and patience in every step of the process. We are confident that our guide will serve as a valuable resource for anyone looking to restore the beauty of their textured tiles without compromise.