

Shower grout may seem like a small detail, but it plays a crucial role in protecting your bathroom. When grout starts to crack, chip, or fall out, water can seep behind the tiles, leading to mold growth, loose tiles, and even structural damage over time. Knowing how to repair grout in shower areas early can help you prevent expensive repairs and keep your space looking clean and well-maintained.
Damaged grout isn’t just a cosmetic issue—it compromises the waterproof barrier of your shower. Small holes or gaps can quickly turn into bigger problems if left untreated. By learning how to repair grout in shower surfaces, you can restore both the appearance and durability of your tiles.
Whether you’re fixing hairline cracks or filling larger holes, repairing grout is a simple DIY task with the right tools and approach. Taking the time to repair grout properly will extend the life of your shower and protect your bathroom from moisture damage.
How Do You Repair Grout in a Shower?
To repair shower grout, remove the damaged or crumbling grout with a grout removal tool or oscillating multi-tool, clean the joints thoroughly, and apply fresh grout according to the manufacturer’s instructions. Allow the grout to cure completely before sealing it (if using cement-based grout) and avoid using the shower until the recommended curing time has passed. Repairing grout promptly helps prevent water damage, mold growth, and loose tiles.
Why Grout Holes Appear in Showers
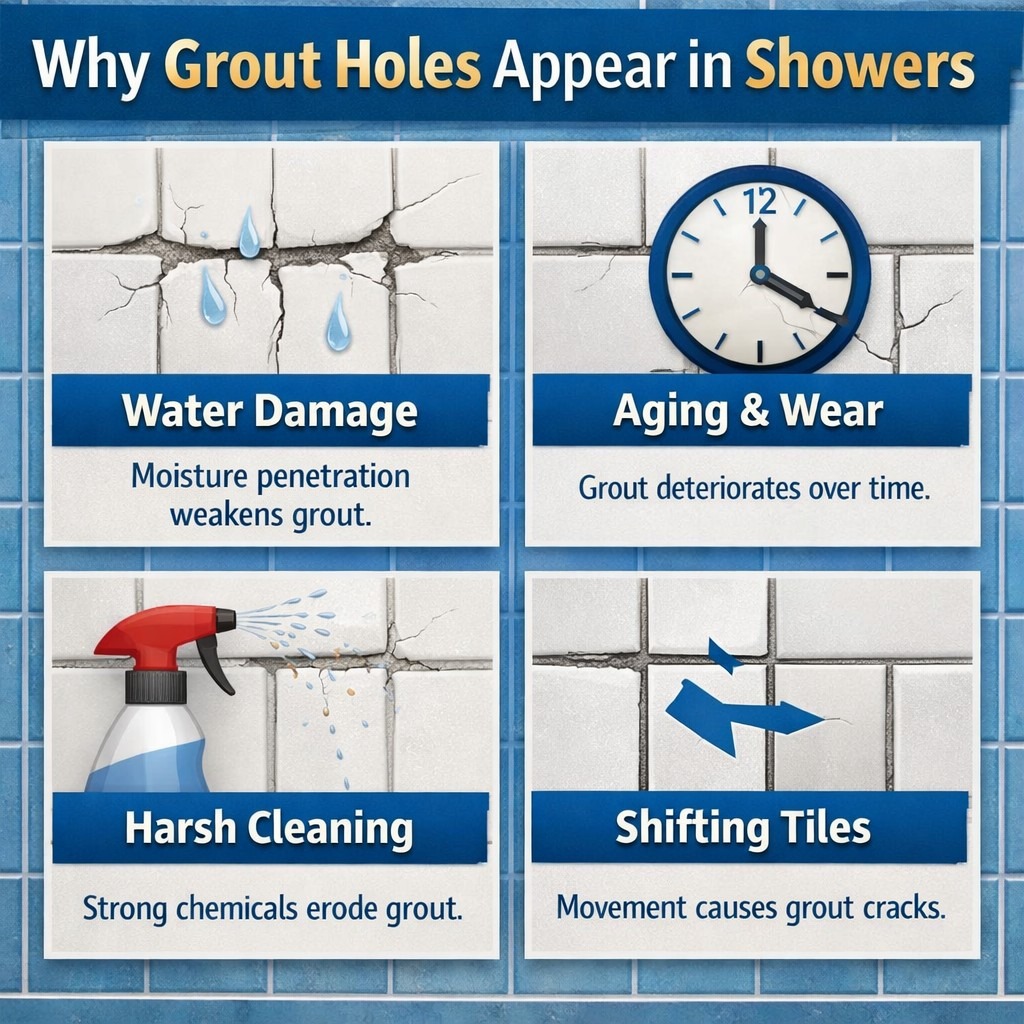
Grout holes form for several reasons, most commonly due to moisture exposure, age, or poor installation. In showers, water constantly seeps into weak spots, especially when grout hasn’t been sealed properly or maintained over time. Holes may start small—pinholes from overwatered grout mix or slight cracking due to house settling—but left unchecked, they escalate into larger gaps, water intrusion, and mold infestations.
Common causes of grout holes:
-
Excess moisture degrading unsealed grout
-
Using grout with too much water during application
-
House settling and structural movement
-
Natural aging and wear-and-tear
-
Chemical damage from harsh cleaners
Signs You Need to Repair Shower Grout
Identifying the problem early helps avoid major issues. Look for these warning signs:
-
Visible holes or pinholes in grout lines
-
Cracked, crumbling, or discolored grout
-
Tiles that feel loose or hollow
-
Musty smell or visible mold near joints
-
Water pooling or leaking near shower base
These symptoms are clear indicators that it’s time to take action and repair the grout in your shower immediately.
Essential Tools and Materials for Grout Repair
Using the right tools and materials is essential for achieving a durable, professional-looking grout repair. Whether you’re fixing cracked shower grout, repairing bathroom floor tiles, or replacing old grout completely, having the proper supplies makes the job easier, improves adhesion, and helps prevent future water damage, mold, and grout failure.
Tools and Materials Overview
- Grout removal tool or oscillating multi-tool – Removes cracked, loose, or damaged grout.
- Utility knife – Helps clean tight corners and trim old caulk if needed.
- Vacuum or small brush – Clears dust and debris from grout joints before applying new grout.
- Premixed or powdered grout – Fills grout joints and restores a waterproof, finished appearance.
- Grout float – Presses new grout firmly into the joints for even coverage.
- Damp sponge – Wipes away excess grout and smooths the grout lines.
- Bucket and clean water – Used for mixing grout and rinsing the sponge.
- Grout repair kit – Ideal for repairing small cracks, chips, and missing grout sections.
- Grout sealer – Protects cement-based grout from moisture, stains, mildew, and mold.
- 100% silicone caulk – Seals expansion joints and corners where tiles meet.
- Safety gloves and eye protection – Protect your hands and eyes while removing and applying grout.
- Dust mask – Reduces exposure to grout dust during removal.
Having these essential grout repair tools and materials ready before you start will help you complete the project more efficiently and achieve a stronger, longer-lasting repair that keeps your shower or bathroom looking clean and well-maintained.
Step-by-Step Guide: How to Repair Grout in Shower
1. Inspect and Assess the Grout Damage
Examine all grout lines carefully. Minor pinholes can often be patched. If the grout is flaking, cracked, or missing in multiple places, a full removal and replacement will be necessary. Gently press tiles to check for movement, which may indicate water damage behind the tile.
2. Remove Damaged Grout
Using a grout saw or oscillating tool, begin removing the damaged grout carefully. Work slowly to avoid scratching the tiles. Remove at least ⅛ inch deep of the existing grout around the affected area.
Pro Tip: Use a vacuum or damp cloth to clean out all dust and debris. Clean lines allow better bonding of new grout.
3. Clean the Area Thoroughly
Use a pH-neutral tile cleaner or a vinegar-water solution to scrub the tile and grout lines. Let the area dry completely—at least a few hours—before applying new grout.
Moisture left behind can interfere with adhesion and lead to premature grout failure.
4. Prepare the New Grout
If using powdered grout, follow the manufacturer’s instructions precisely. Do not add too much water—it should have a peanut butter-like consistency. For pre-mixed grout, simply stir thoroughly.
Important: Use sanded grout for wider joints (over 1/8″) and unsanded grout for narrower gaps.
5. Apply the Grout
With a rubber float, spread the grout diagonally across the joints, pressing firmly to push grout deep into the holes and gaps. Work in small sections to maintain control.
Continue applying until all gaps are filled and surfaces are evenly covered.
6. Remove Excess Grout
After 10–15 minutes (or as directed by your product), wipe the surface gently with a damp sponge. Rinse frequently and use smooth, circular motions. Be careful not to pull grout from the joints.
Once dry, polish off any haze with a soft microfiber cloth.
7. Allow Grout to Cure
Let the grout cure for at least 24–72 hours, depending on the brand. Do not use the shower during this time.
Curing is critical to long-term durability. Rushing this process may lead to soft or crumbly grout.
8. Seal the Grout Lines
Once fully cured, apply a penetrating grout sealer to protect from water, stains, and mold. Use a small applicator bottle or brush and ensure even coverage.
Let the sealer dry completely—refer to product instructions for best results.
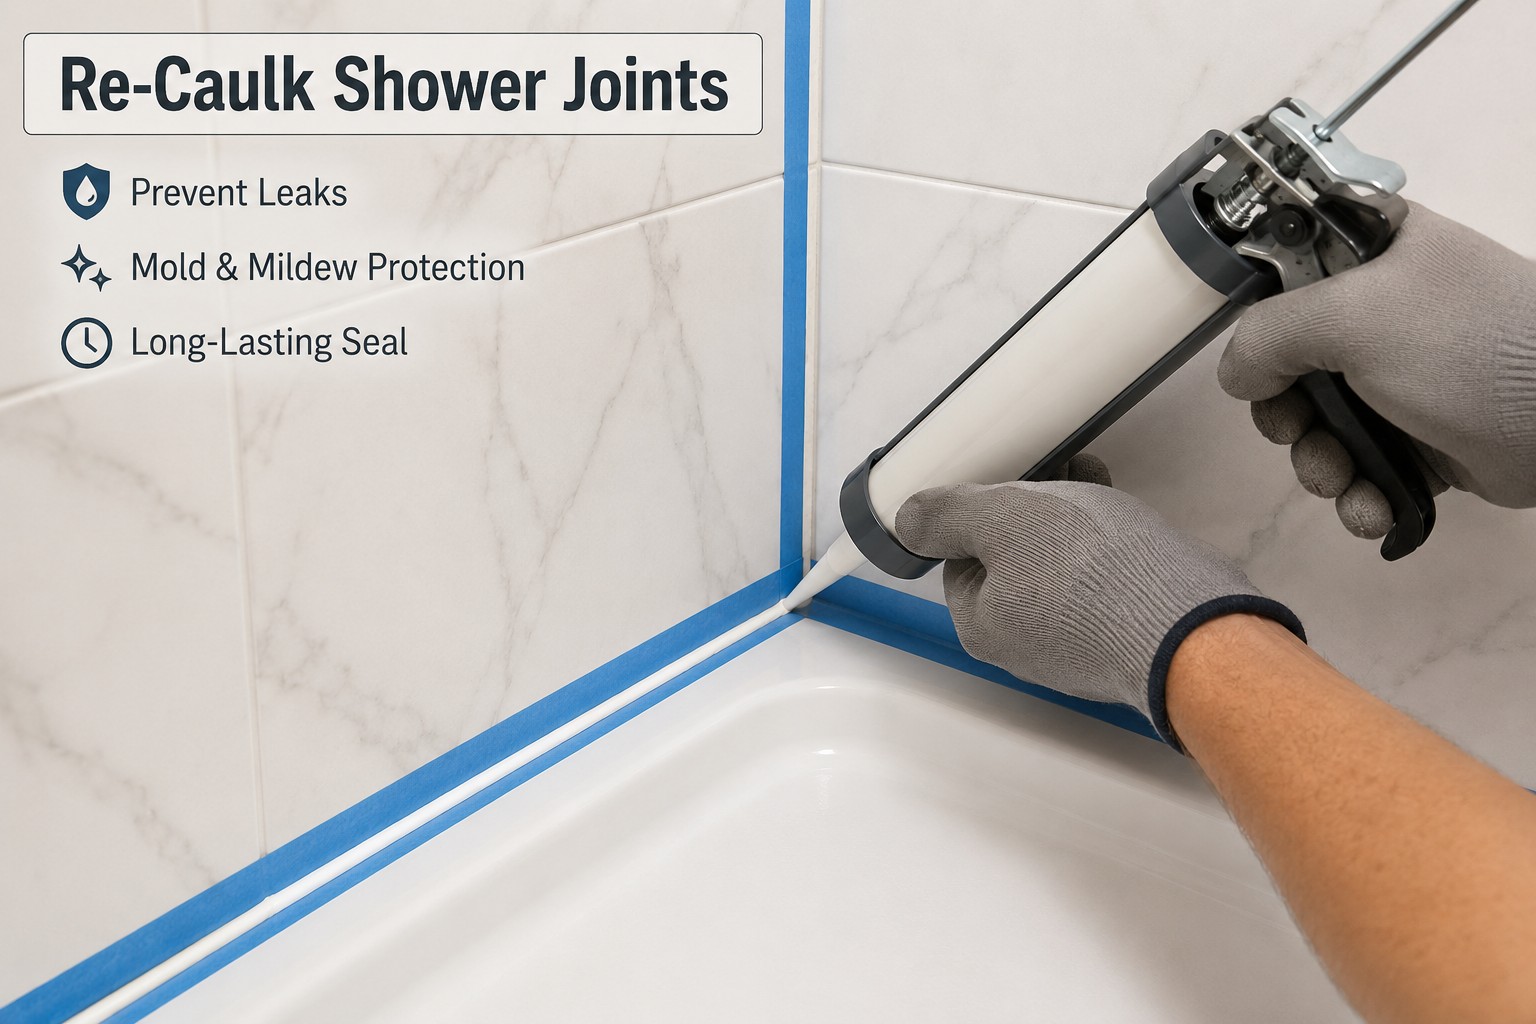
9. Re-Caulk Shower Joints
Inspect corners and joints where tiles meet walls or the tub. If the caulk is cracked or moldy, remove it with a utility knife and apply new waterproof silicone caulk.
Proper caulking is essential to preventing water intrusion where grout ends.
Tips to Prevent Future Grout Damage
-
Clean regularly with non-abrasive, pH-neutral cleaners
-
Wipe down tiles after every shower to reduce moisture exposure
-
Reseal grout annually for continued protection
-
Avoid acidic or bleach-based cleaners that eat away grout
-
Address small cracks early before they expand
When to Call a Professional for Grout Repair
While most grout repairs in the shower are DIY-friendly, there are times when it’s best to contact a professional:
-
Extensive mold growth behind tiles
-
Large areas of missing or hollow grout
-
Loose or buckling tiles
-
Persistent leaks despite repairs
Professionals can assess hidden moisture damage using tools like moisture meters and infrared cameras, ensuring your shower is fully restored.
Conclusion
Learning how to repair shower grout is one of the best ways to protect your bathroom from water damage, mold growth, and expensive tile repairs. Whether you’re fixing small cracks, filling pinholes, or replacing damaged grout, taking action early helps maintain a strong, waterproof seal and extends the life of your shower.
For extensive damage, removing and replacing old grout ensures long-lasting results and restores the appearance of your shower walls and floor. Using a quality shower grout repair kit along with the right tools makes the repair process easier, while applying a grout sealer after curing helps protect against future moisture and stains.
To keep your newly repaired grout looking its best, clean it regularly with a bathroom grout cleaner designed to remove soap scum, mildew, and grime without damaging the grout. Routine cleaning, proper ventilation, and timely maintenance will prevent discoloration and reduce the need for frequent repairs.
By combining regular cleaning with prompt grout repairs, you can keep your bathroom cleaner, healthier, and more durable for years to come while preserving the beauty and value of your tiled shower.
Frequently Asked Questions (FAQs)
What is the best way to remove old grout from a shower?
The best way to remove old shower grout is by using a grout saw, oscillating tool, or grout removal blade. Carefully scrape out the damaged grout while avoiding damage to the surrounding tiles. Once the grout is removed, clean the joints thoroughly before applying fresh grout to ensure proper adhesion and long-lasting results.
How long should grout dry before using the shower?
New shower grout typically needs 24 to 72 hours to cure before it is exposed to water. The exact drying time depends on the grout type, humidity levels, and manufacturer recommendations. Allowing grout to cure completely helps prevent cracks, water damage, and premature failure of the repair.
Should shower grout be sealed after repair?
Yes, sealing shower grout after repair is highly recommended. A grout sealer creates a protective barrier that helps prevent water penetration, mold growth, mildew, and stains. Regular sealing can extend the lifespan of your grout and make shower maintenance easier over time.
Why does shower grout crack and crumble?
Shower grout can crack and crumble due to age, moisture exposure, poor installation, structural movement, or lack of maintenance. Over time, water can weaken grout and cause it to deteriorate. Repairing damaged grout promptly helps prevent leaks, protects the underlying structure, and keeps your shower looking clean and functional.