Home improvement projects are exciting endeavors that allow us to express our creativity and enhance our living spaces. However, even the most well-planned projects can encounter unexpected hurdles. One of the most common yet frustrating issues is using the wrong grout color or type. Fixing Wrong Grout Color or Type can transform a beautiful vision into a DIY disaster if not handled properly.
In this article, we share comprehensive insights, detailed step-by-step guidance, and personal experiences from our team to help you overcome these challenges with confidence.
The Impact of Grout on Your Home’s Aesthetic

Grout is more than just a filler between tiles; it is a vital component that ties your design together. A mismatched grout can detract from the overall beauty of your space, affecting both appearance and perceived quality. The right grout enhances the design by providing contrast, depth, and a seamless finish.
When the color or type is wrong, the error becomes immediately noticeable and can create an unbalanced look that diminishes the value of your home improvement efforts.
Identifying the Problem: How to Recognize Incorrect Grout Application
Visual Cues and Immediate Red Flags
The first step in resolving any grouting issue is to accurately identify the problem. Incorrect grout application often presents visual inconsistencies such as:
-
Uneven color distribution that fails to complement the tiles.
-
Mismatched textures or finishes that disrupt the overall design.
-
Visible gaps or excessive residue in areas where the grout appears to be applied too thickly or thinly.
When you notice these discrepancies, it’s important to verify whether the problem is isolated or more widespread. Early identification is crucial as it enables you to decide whether a spot repair will suffice or if a full-scale re-grouting is necessary.
Understanding Material Compatibility
In addition to visual inspection, understanding the material compatibility between the grout and the tile is essential. Many homeowners choose a grout without fully considering how its properties will interact with the tile surface. Factors such as porosity, tile texture, and even the environment (humidity and temperature) can affect the final outcome. Testing small samples in an inconspicuous area of your project can save you from larger issues later.
DIY Disaster Stories: Real-Life Experiences and Lessons Learned
Case Study 1: The Mismatched Bathroom Makeover
One memorable incident involved a homeowner who chose a light gray grout to complement a set of dark marble tiles. In theory, the contrast was meant to add elegance, but in practice, the result was a jarring mismatch.
The grout color, affected by lighting and natural tile variations, ended up clashing with the overall décor.
This experience taught us that even a slight deviation in shade can alter the intended design, emphasizing the need for thorough pre-application testing.
Case Study 2: The Kitchen Catastrophe
In another scenario, a DIY enthusiast applied a fast-setting grout that was not compatible with the humid conditions in a busy kitchen.
The grout began to crack and discolor shortly after application, leading to costly repairs and frustration. This incident underscored the importance of selecting a grout type that matches not only the color palette but also the environmental conditions.
Understanding your project’s unique requirements is key to avoiding similar pitfalls.
Personal Experience: A Lesson in Patience and Precision
We recall our own experience with a re-tiling project where we initially overlooked the importance of mixing the grout correctly.
The resulting application was uneven and inconsistent. By re-evaluating our process and taking the time to meticulously mix and test the grout, we managed to correct the mistake.
This personal lesson in patience and precision has since become a cornerstone of our approach to any DIY grouting project.
Detailed Step-by-Step Guide to Fixing Wrong Grout Color or Type

1. Evaluate the Extent of the Problem
Before starting any repairs, assess whether the issue is confined to a few tiles or spans an entire room. A comprehensive evaluation will help determine whether spot repairs or complete re-grouting is necessary.
Document the affected areas with photos to better understand the scale and plan your approach accordingly.
2. Gather the Necessary Tools and Materials
Having the right tools at your disposal is vital for a successful repair. Essential items include:
-
Grout saw or multi-tool for removal of the old grout.
-
Protective gear such as gloves and goggles.
-
New grout and colorants (if a color match is required).
-
Grout float and sponge for application and smoothing.
-
Sealant to protect the newly applied grout from moisture and staining.
Preparation is paramount to ensure that you can work efficiently and avoid further mishaps.
3. Safely Remove the Incorrect Grout
Using a grout removal tool or an oscillating multi-tool, carefully remove the existing grout. Work in small sections and take your time to avoid damaging the surrounding tiles. Gentle, deliberate movements are critical during this process to maintain the integrity of the tile edges and surfaces.
4. Thoroughly Clean the Tile Gaps
After removal, clean the gaps to remove dust, debris, and remnants of the old grout. A combination of vacuuming and wiping down with a damp cloth is recommended. Ensuring a clean substrate is essential for the new grout to adhere properly and provide a uniform finish.
5. Mix and Test the New Grout
Follow the manufacturer’s instructions precisely when mixing the new grout. If you need to adjust the color, add the appropriate colorants gradually. Test the mixture on a small, hidden area to confirm that the shade and consistency meet your expectations before proceeding with the entire project.
6. Apply the New Grout with Precision
Using a grout float, apply the new grout into the gaps, working at an angle to ensure the material is pressed firmly and evenly. Once applied, use a damp sponge to wipe away excess grout from the tile surfaces. Even application and careful cleanup are key to achieving a professional-looking finish.
7. Allow for Proper Curing Time
Patience is crucial once the new grout has been applied. Allow the grout to cure as recommended by the manufacturer, which typically ranges from 24 to 72 hours depending on the product. Do not rush this stage as proper curing is essential for durability and longevity.
8. Seal the Grout for Long-Term Protection
After the curing process, apply a grout sealant to protect against moisture, staining, and everyday wear. This final step not only enhances the grout’s appearance but also extends its lifespan. Sealing your grout is a small investment that pays off by preserving the beauty and functionality of your tiled surfaces.
Advanced Troubleshooting and Additional Tips

Troubleshooting Common Issues
Even with careful planning, some common issues may arise:
-
Uneven Color Distribution: If the grout color appears patchy, consider applying a secondary coat of colorant or grout dye after the initial curing.
-
Cracking or Shrinkage: Cracks may develop if the grout mix was too dry. In such cases, gently fill in the cracks with a compatible grout repair product.
-
Adhesion Problems: Poor adhesion can result from insufficient cleaning before application. Ensure that all dust and debris are removed before applying the new grout.
Enhancing Your DIY Skills
Improving your DIY skills is a continuous journey. We recommend the following tips to enhance your expertise:
-
Attend Workshops or Online Tutorials: These can provide hands-on experience and introduce you to advanced techniques.
-
Join DIY Communities: Engaging with other homeowners who have faced similar challenges can offer practical insights and support.
-
Invest in Quality Tools: High-quality tools not only improve the outcome but also make the process smoother and more enjoyable.
Expert Advice on Grout Maintenance
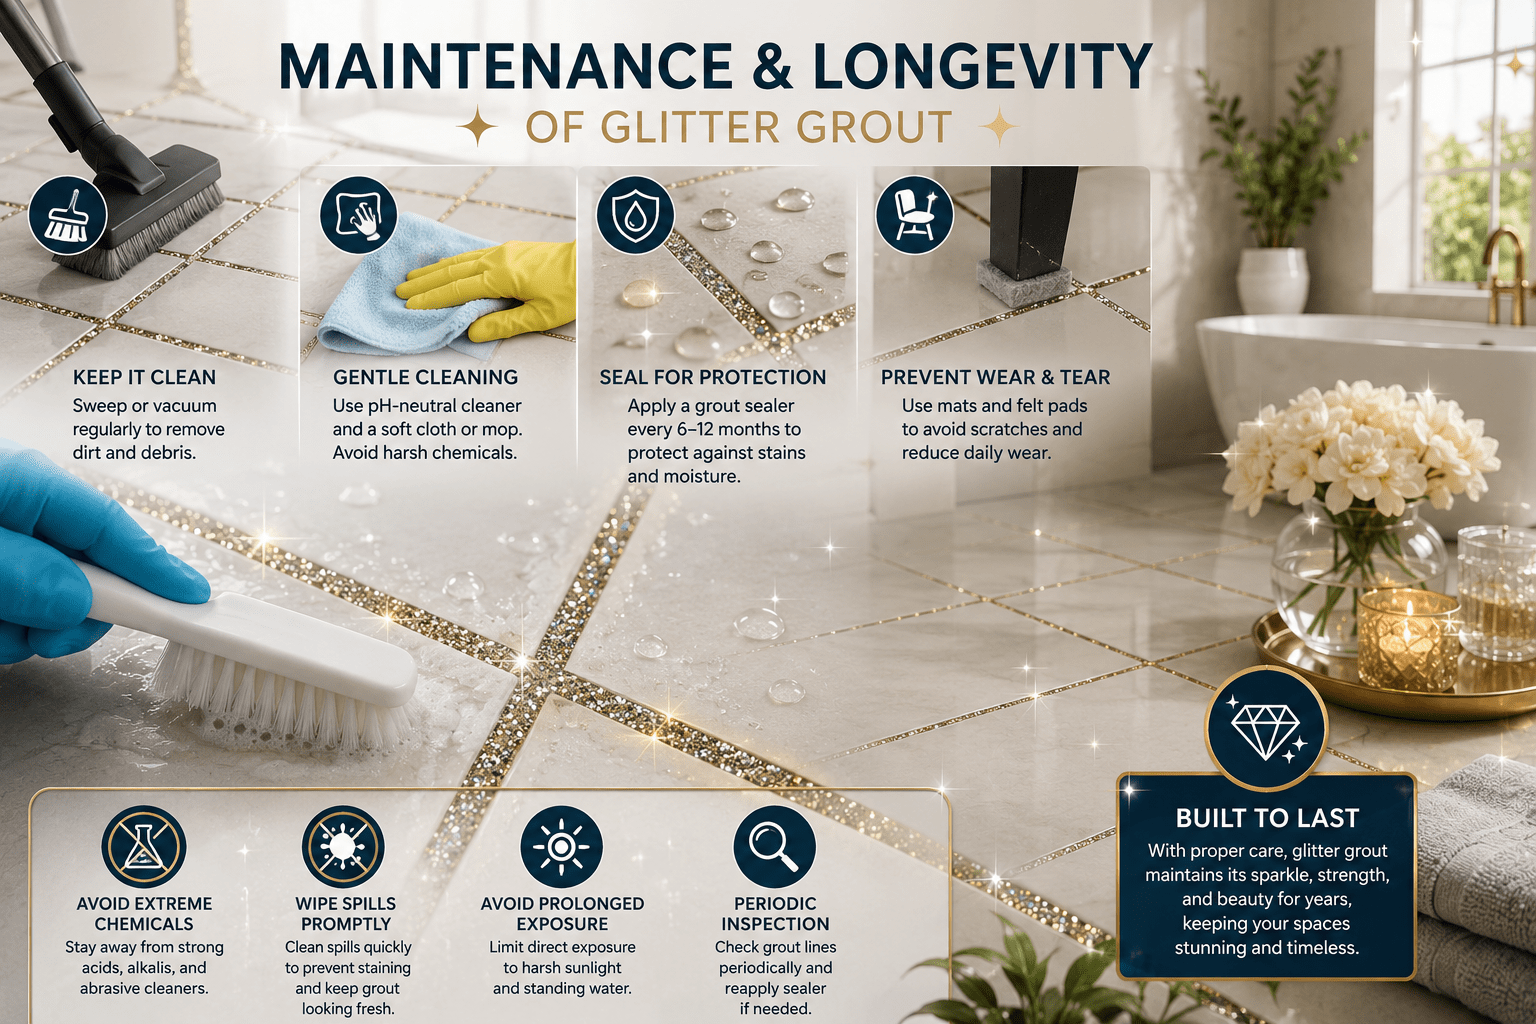
Regular maintenance can prevent many issues before they start. Here are some expert tips:
-
Regular Cleaning: Use non-abrasive cleaners to avoid damaging the grout.
-
Immediate Repairs: Address any signs of wear or discoloration as soon as they appear.
-
Periodic Sealing: Reapply sealant every few years to maintain the grout’s protective barrier.
Preventative Measures: Ensuring a Flawless Grouting Process

Conducting Thorough Pre-Testing
Before committing to a full-scale application, always perform a small test. Apply a sample of the grout to a hidden section or a sample board to evaluate:
-
Color Accuracy: How the grout color dries and interacts with the tile.
-
Consistency: The texture and ease of application.
-
Durability: The grout’s performance under the specific conditions of your space.
Thorough pre-testing is an investment in preventing future mistakes and ensuring that the final result meets your aesthetic and functional needs.
Selecting the Right Materials
Choosing the right grout involves more than just matching the color. Consider the following factors:
-
Type of Grout: Epoxy, cementitious, or urethane-based grouts each have distinct properties. For example, epoxy grout is highly durable and stain-resistant but requires precise application.
-
Environmental Conditions: Humidity, temperature fluctuations, and exposure to chemicals can affect the performance of the grout. Choose a product designed for the specific conditions of your project.
-
Tile Compatibility: Ensure that the grout is compatible with the type of tile you are using. Porous tiles might require a different type of grout compared to glazed surfaces.
Planning and Design Considerations
Incorporate a planning phase that emphasizes the overall design aesthetic. Consult with professionals or use design software to visualize how different grout colors and types will interact with your tilework.
By doing so, you can avoid costly mistakes and ensure that your project achieves the desired look and functionality.
In-Depth Personal Experience: Turning a Disaster into a Learning Opportunity
Our team’s journey through DIY grouting mishaps has been filled with learning moments. In one notable project, we were tasked with renovating an aged kitchen with mismatched grout.
The initial application resulted in unsightly gaps and inconsistent color that threatened to undermine the entire design. By revisiting our process, re-mixing the grout, and applying meticulous care during the removal and reapplication phases, we successfully transformed the project.
This experience reinforced our belief that attention to detail and persistence are invaluable assets in any home improvement task.
We learned that taking time to understand the unique properties of each material and being willing to experiment on a small scale before full application can prevent many common pitfalls.
Our dedication to refining our technique has not only improved our outcomes but has also provided us with a wealth of knowledge that we are eager to share with other DIY enthusiasts.
Step-by-Step Recap and Final Reminders
Recap of the Process
-
Evaluation: Thoroughly assess the extent of the issue and document the affected areas.
-
Preparation: Gather all necessary tools and materials before beginning the removal process.
-
Removal: Carefully remove the incorrect grout using the proper tools.
-
Cleaning: Ensure the gaps between tiles are free from dust and debris.
-
Mixing: Follow manufacturer guidelines to mix and test the new grout, adjusting color as necessary.
-
Application: Use a grout float to apply the new grout evenly, wiping away any excess before it dries.
-
Curing: Allow sufficient time for the grout to cure properly.
-
Sealing: Apply a sealant to protect the new grout and enhance its longevity.
Final Reminders for a Successful Project
-
Patience and Precision: Rushing the process can lead to further complications. Always work methodically.
-
Double-Check Compatibility: Ensure that the chosen grout is appropriate for your specific tile type and environmental conditions.
-
Use Quality Materials: Investing in high-quality products and tools can make a significant difference in the final outcome.
-
Seek Professional Advice When Needed: If the project seems overwhelming or if your DIY fixes fail, don’t hesitate to consult with a professional. Their expertise can often provide solutions that save both time and money in the long run.
Expert Tips for Future Projects
Learning from Each Experience
Every project, successful or not, offers valuable lessons. We encourage homeowners to:
-
Reflect on the Process: After each project, take time to analyze what worked and what could be improved.
-
Document Your Steps: Keeping a detailed record can be useful for future repairs or renovations.
-
Share Your Experiences: Engaging with online DIY communities can provide additional insights and foster a spirit of collective learning.
Staying Updated with Industry Trends
The world of home improvement is constantly evolving with new products and techniques. Staying informed about the latest trends can help you make more educated decisions:
-
Attend Trade Shows and Workshops: These events offer a firsthand look at innovative products and methods.
-
Subscribe to Industry Publications: Regular updates can provide you with new ideas and proven strategies for your projects.
-
Follow Expert Blogs and Forums: Engaging with a community of DIY enthusiasts and professionals can keep you ahead of the curve.
Budgeting and Planning for Success
One of the key aspects of any successful home improvement project is thorough planning and budgeting:
-
Set a Realistic Budget: Consider all potential costs, including materials, tools, and professional consultations if needed.
-
Plan for Contingencies: Unexpected issues can arise, so having a contingency plan will reduce stress and keep your project on track.
-
Time Management: Allocate sufficient time for each phase of the project, ensuring that no step is rushed or overlooked.
The Long-Term Benefits of a Well-Executed Grouting Project
Enhanced Aesthetics and Property Value
When done correctly, grouting not only improves the immediate appearance of your space but also contributes significantly to the overall value of your property. A seamless, well-executed grout job can:
-
Elevate the Design: The right grout accentuates the beauty of your tiles, making your space look more refined.
-
Increase Durability: Quality grout, properly applied and sealed, offers long-term protection against moisture, stains, and wear.
-
Boost Resale Value: A well-maintained home with attractive, consistent finishes is more appealing to potential buyers.
Practical Benefits in Daily Living
A perfectly grouted surface is easier to clean and maintain, ensuring that your home not only looks great but also functions well. Regular maintenance and proper repairs reduce the likelihood of future issues, saving both time and money over the years.
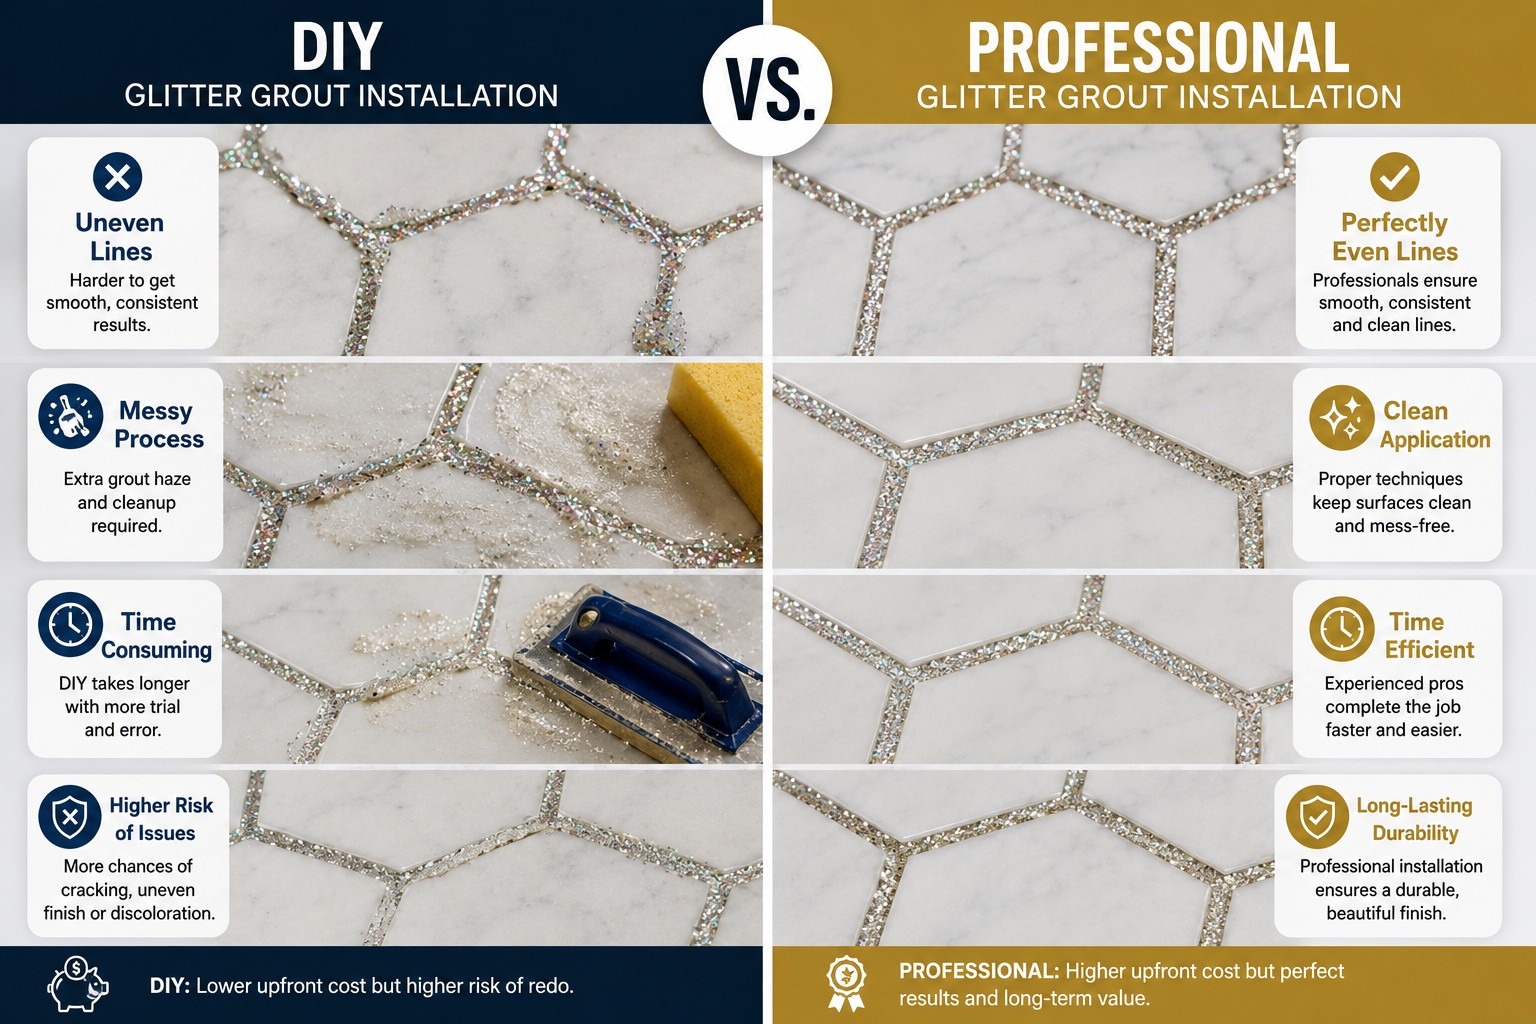
DIY vs. Professional Assistance: Making the Right Choice
Assessing the Scope of Your Project
While many homeowners enjoy the satisfaction of completing DIY projects, it is important to recognize when professional help might be warranted. Projects that span large areas or involve significant design errors may benefit from the expertise of a seasoned professional.
Professional intervention can provide advanced techniques and high-quality finishes that are sometimes difficult to achieve on your own.
Benefits of Professional Help
If your DIY efforts do not yield the desired results, professionals can offer:
-
Expert Evaluation: Professionals can accurately diagnose the issue and recommend the best course of action.
-
Advanced Tools and Techniques: Access to specialized tools and methods can improve the overall outcome.
-
Peace of Mind: Knowing that your project is in the hands of experts can reduce stress and ensure a flawless finish.
When to Consider Calling a Professional
-
Persistent Issues: If repairs continue to fail despite your best efforts, it might be time to seek expert advice.
-
Large-Scale Projects: Extensive areas or complex patterns may require professional attention for optimal results.
-
High-Stakes Projects: Areas such as kitchens and bathrooms, which are subject to heavy use and moisture, often benefit from professional expertise.
You can read our article: Can You Change Grout Color
Conclusion: Embracing the Journey of Home Improvement
In conclusion, Fixing Wrong Grout Color or Type is a multifaceted challenge that requires careful planning, patience, and precision. By understanding the common pitfalls and following a structured, step-by-step approach, homeowners can transform a DIY disaster into a successful, rewarding project.
Every experience, whether marked by setbacks or successes, offers valuable lessons that contribute to your overall home improvement expertise.
Home improvement is not just about aesthetics; it is a journey of learning and growth. As you navigate the challenges of grout repair, remember that every step taken with care contributes to a more beautiful, durable, and functional living space.
Our comprehensive guide and shared personal experiences are designed to empower you to make informed decisions and achieve professional-level results in your DIY projects.
Frequently Asked Questions (FAQs)
Q1. What are the main causes of selecting the wrong grout color or type?
The main causes include misinterpreting sample colors under different lighting, selecting a grout that is incompatible with your tile material, and overlooking environmental factors such as humidity.
Q2. How can I test grout compatibility before applying it?
Mix a small batch of grout and apply it to a discreet area or sample board. Observe the drying color, texture, and overall appearance to ensure it matches your desired outcome.
Q3. What tools and materials are necessary for fixing grout mistakes?
Essential tools include a grout saw or multi-tool, protective gear, cleaning supplies, new grout mix, colorants if needed, a grout float, and a sealant for long-term protection.
Q4. How do I remove old or incorrect grout safely?
Use a grout removal tool or an oscillating multi-tool, working slowly and carefully to avoid damaging surrounding tiles. Clean the area thoroughly before applying new grout.
Q5. Can professional help improve the final outcome if DIY fixes fail?
Yes, consulting with a professional can provide advanced expertise and ensure a high-quality finish, especially in complex or large-scale projects.








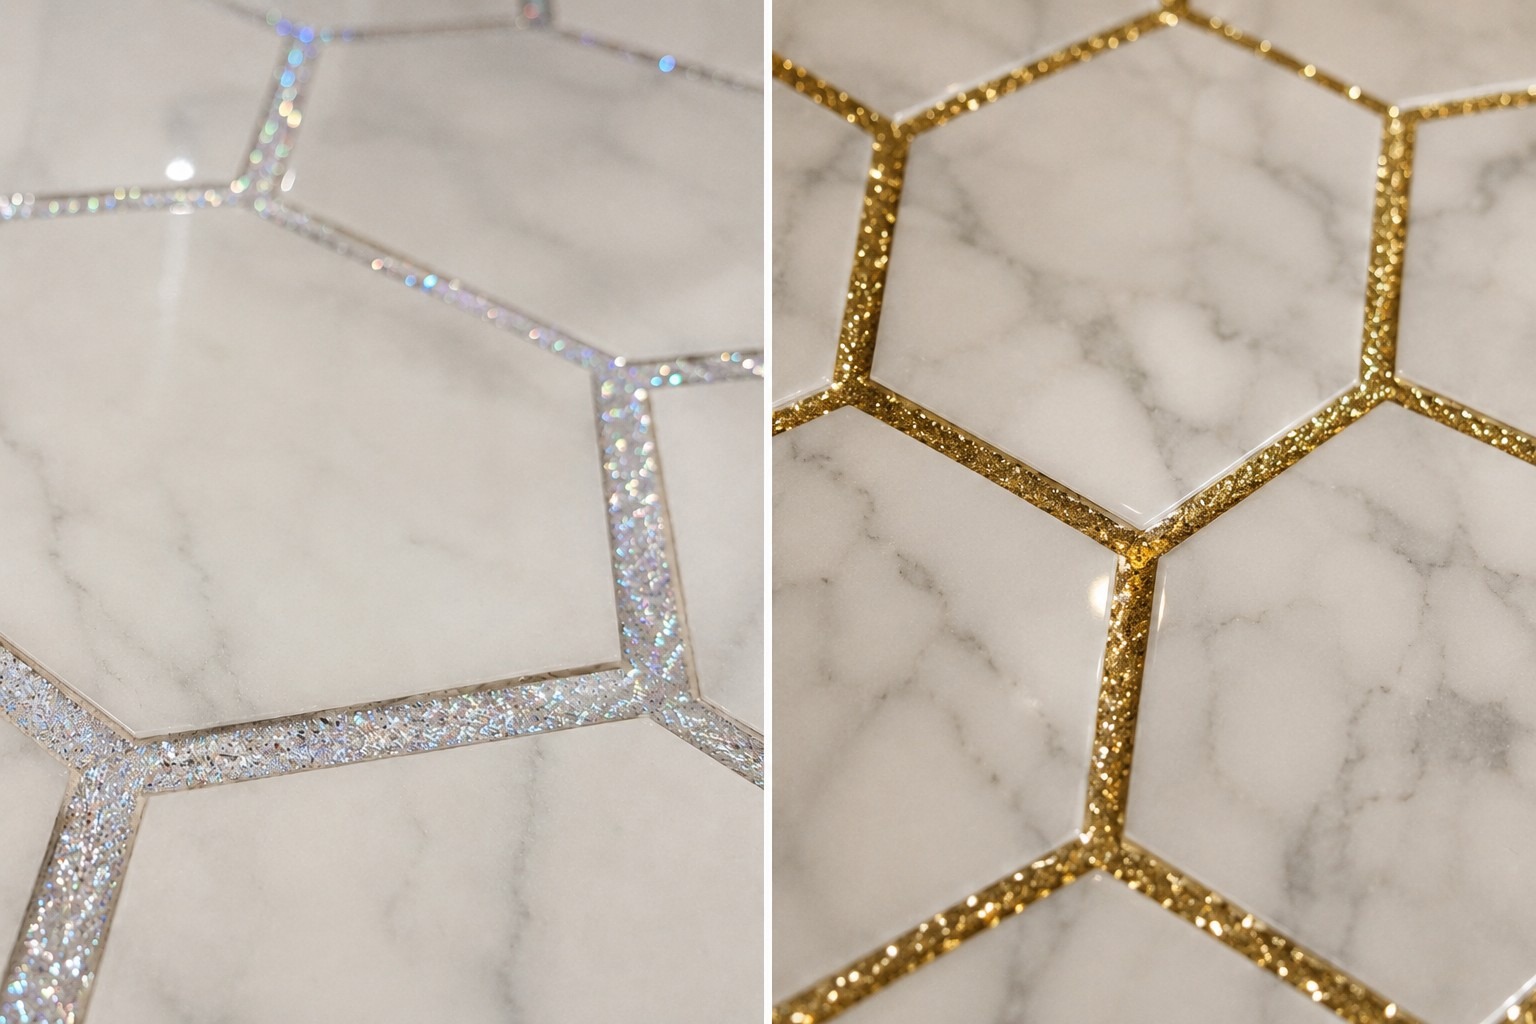
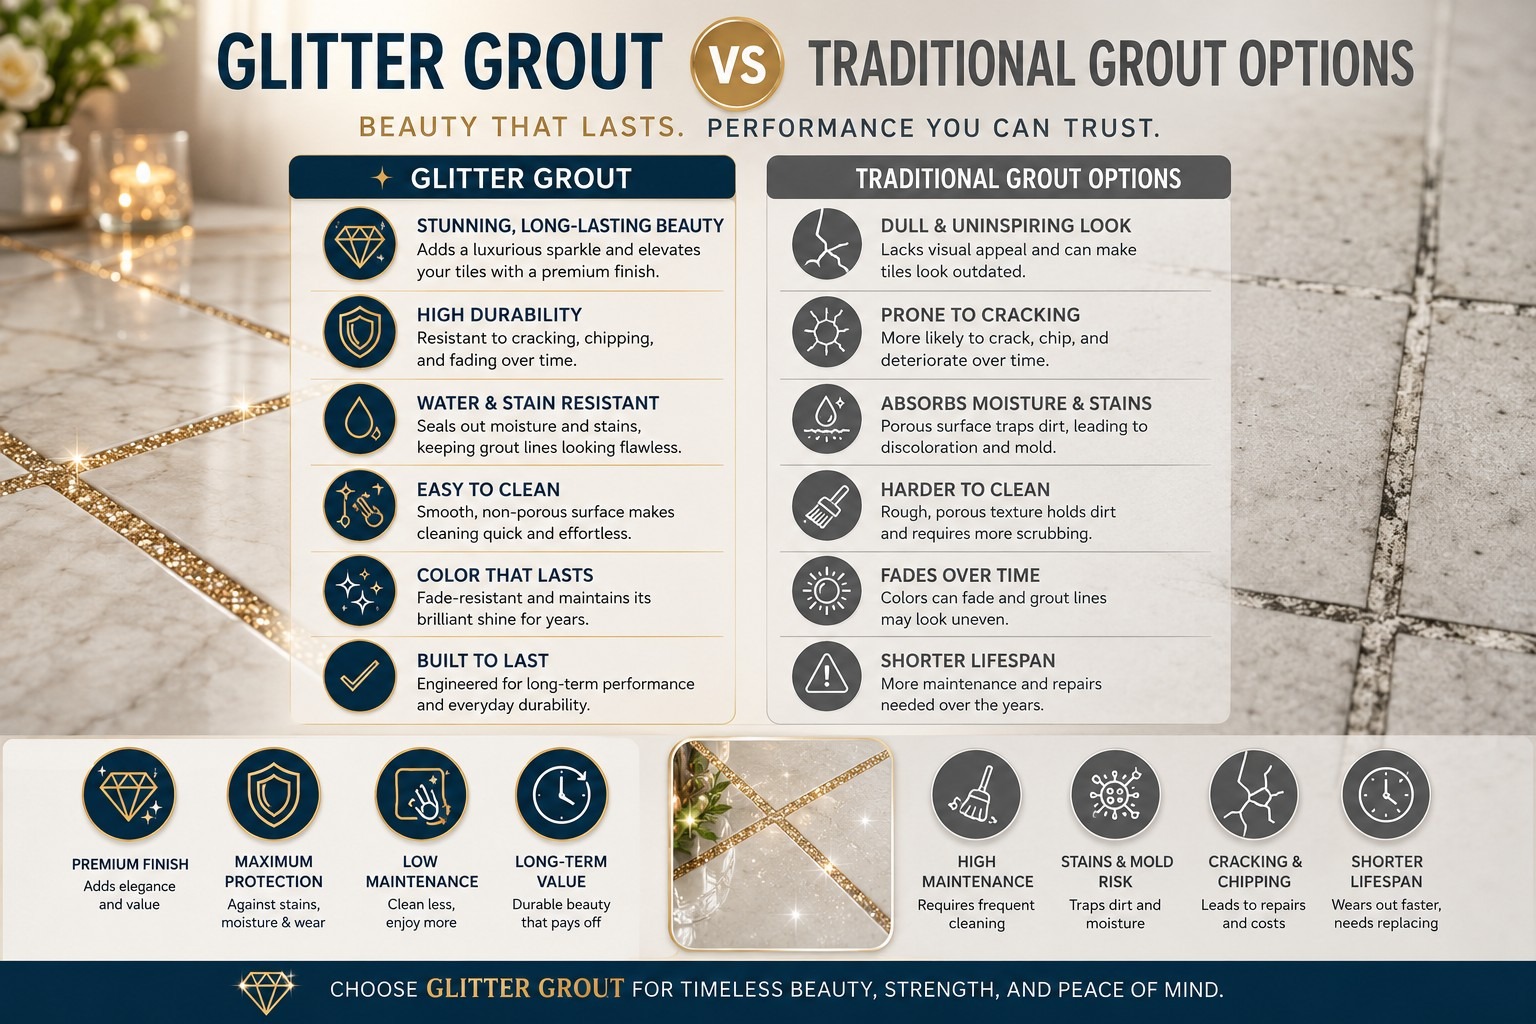 When making design decisions, homeowners often balance innovative trends against proven reliability. Below is a detailed comparison that can help you decide if Glitter Grout is the right choice for your project.